Tuesday, August 2, 2011

Lunch Sack Stars


The following idea comes from our crafty ladies at our Seattle store! Who would have thought that a simple paper sack could be used to create fun (and cheap!) decorations??? Molley and Chelsey will demonstrate how easily you can recycle a plain little sack to starry magic. . .

With a few ordinary paper lunch sacks and some imagination you can create these fabulous hanging flowers. Decoration Perfection!

What you will need:
6 paper lunch sacks
¼ inch hole punch
Scissors
Double sided tape
String


Step 1
Fold the bottom of a bag in on itself. Cut above the lower fold, removing the bag's bottom. Trim the top into a petal shape.


Step 2

Punch a hole about 1/4 inch from the bottom. Repeat process with five more bags. Apply double-sided tape to the front edges of a bag. Place another bag on top, and repeat to stack all of the bags. Draw a length of string through the hole in the stack; knot it loosely.

Step 3
Pull the top and bottom bags around to form a flower shape and join the end petals with double-sided tape; in our project we used Glue Dots for convenience.

Step 4
Shape your flower by gently opening each petal, until your flower has taken shape.

Step 5

Suspend your completed paper bag flowers by string. That easy!


* For a little for more colored pizzazz we used our Glimmer Mist – Just a few spritzes and sprays and you’ve got your hanging decorations matching the color theme!Have fun! Molly & Chelsey, Seattle Paper Zone

Tuesday, July 26, 2011

Laminate It!

These past few days I have been spending a lot of time getting organized around the house. While going through my cookbooks, I found a serious of scraps of paper and print outs containing some of my favorite recipes. Of course, they are all food stained (as they have been heavily used over the years) and in some cases only readable by me. I decided to transfer them all to recipe cards that could all be organized in this cute little box.


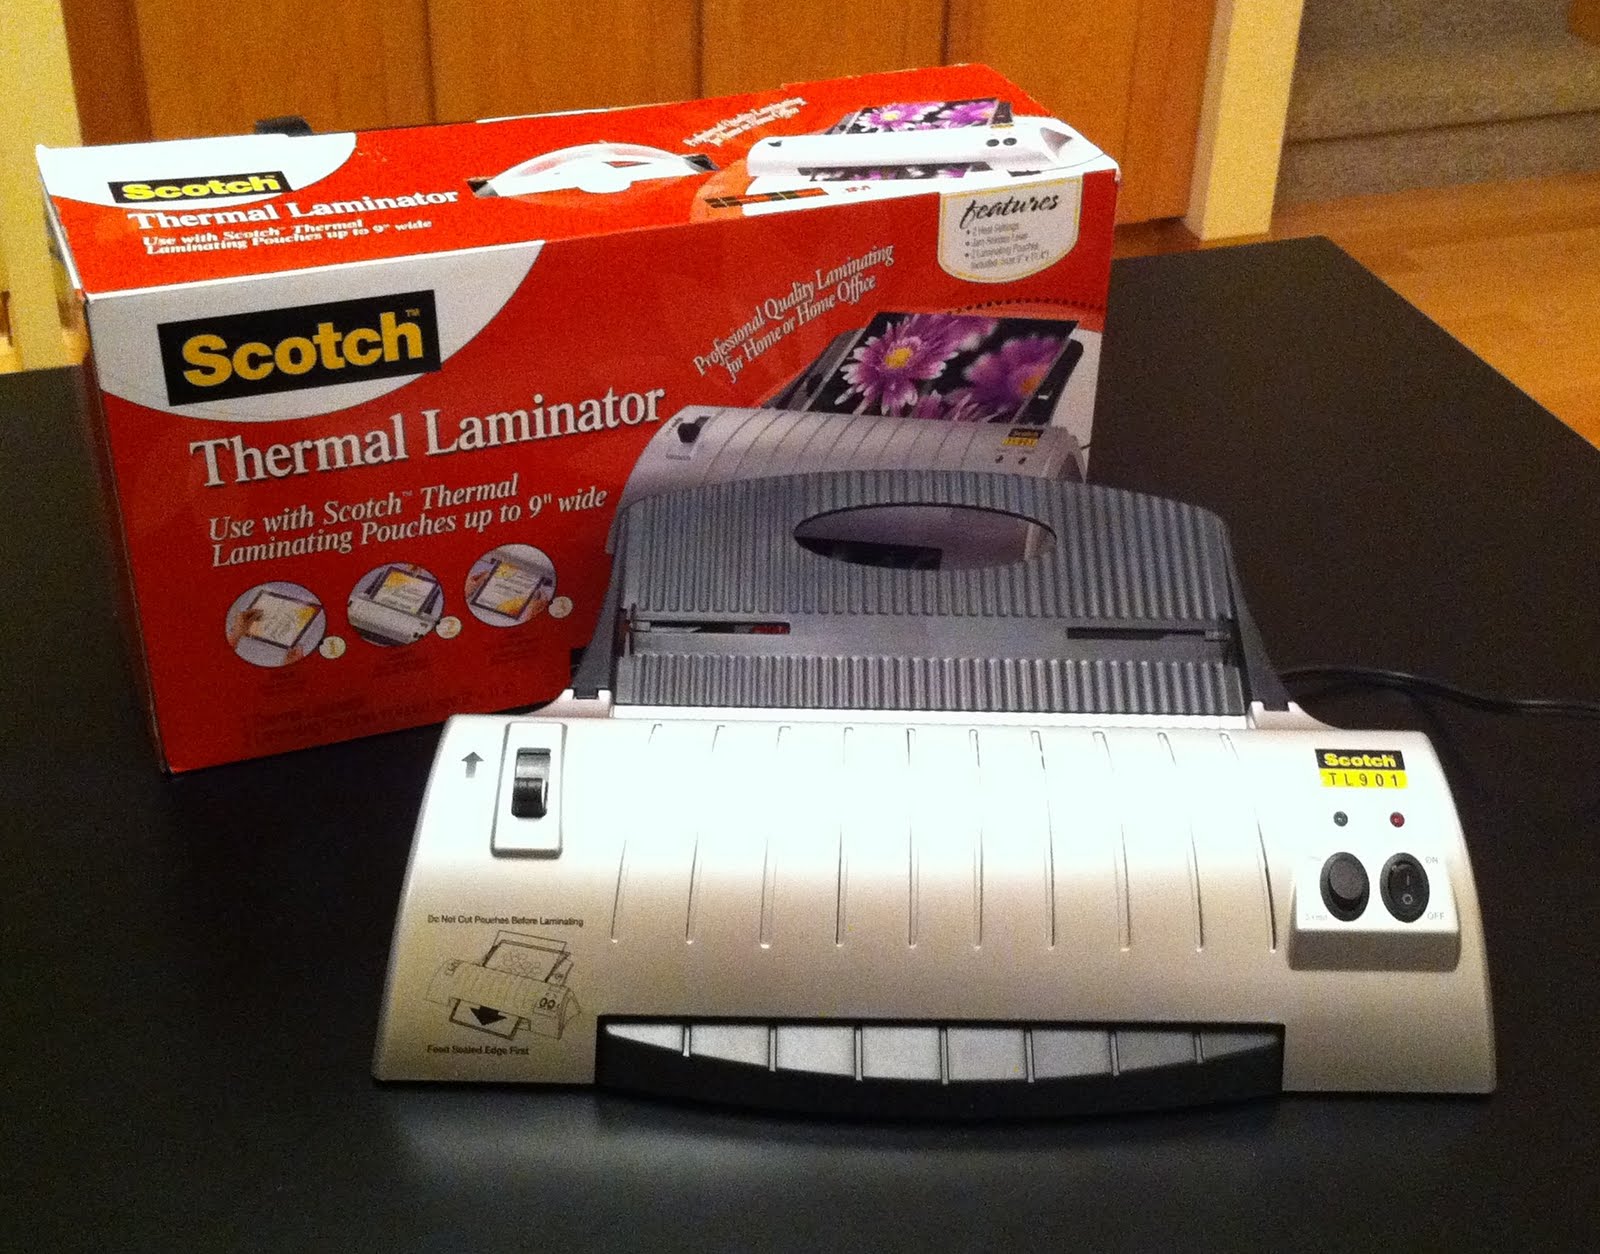
Of course that doesn't solve the food stain problem that is bound to occur the next time I make these things, so I decided to laminate them. We just got in a great new thermal laminating machine from 3M. It laminates items up to 9" wide and it's very light weight, easy to operate anad economical.


To start my recipe card project, I trimmed the edges of the card ever so slightly so that, once laminated, it would still fit into the box.


I used these 4x6 laminating pouches


And placed the card in the pouch like so making sure it was centered in the pouch to ensure that all sides would seal properly.


Just turn the machine on and once the green "ready" light lights up, you're good to go.


Adjust the guides as needed and just slide your piece through the machine sealed side first.


It only takes a few seconds to feed through and you end up with a perfectly laminated finished piece!


I just trimmed the edges and now it is a perfect fit in my recipe box! Only 30 or so more to go!


Here's another fun and practical project for the laminating machine...
I decided to plant some herbs and found that the seed packs I purchased had all of this great information about care for the plants and also some great artwork.


Usually when I plant the seeds, the packages they came in tend to go missing almost immediately. To preserve that great information I cropped down the packages and laminated the pieces so I could put stick them in the soil and have an ongoing identifier for each pot.


I am loving this new machine! What other fun uses can you think of? - Amanda

Tuesday, July 19, 2011

Kids Craft Kits


Just in time for summer, kids craft kits have arrived at Paper Zone! Because these kits are new products for us, I was anxious to try them, and, I admit, the label (above) sucked me in!


So, I stopped by the Seattle Paper Zone and picked up two kinds of kits: the "Foam Fliers" and the "My Hand Prints". Next, I obtained two willing participants (left), my super awesome nephews Dorian and Dominic.

The first kit we tried was the Foam Fliers. Being that you get 4 planes for $5.99, I really thought this was a great bargain. The kit includes 4 easy-to-assemble planes, a paintbrush and some paints. I must admit we had to pilfer paint brushes from the My Hand Prints kits so you may want to pick up some spare brushes in order for everyone to have fun at the same time.
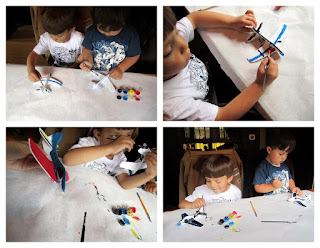
Tip #1: put down some butcher paper to protect your work surface, although I found this paint really easy to wash off, which was great!

After quickly assembling the planes, we went to work painting. This is creativity at its best! I was actually pretty impressed that the paints were more than enough to cover the entire body of all four planes. . .no skimping here!

During this test, we proved that both the kids and the adults had a great time creating their signature flier.

I purposefully made mine look more childlike so that the boys didn't get too jealous of my plane.

After about 30 minutes of painting fun, we set our planes out to dry. We had some pretty impressive results (below). I would say the planes fly 'okay', but you can't beat the easy assembly, the painting fun and it was a great family activity.

Up next: My Hand Prints. I have to say right off the bat the boys' mom was excited by this one. Really, this is an adorable way to take a snapshot of a moment in time.

This kit was so easy and mess free! I was prepared for a sticky, gooey mess, but the clay came out of the packet in one lump, stayed in a lump, spread easily and was great to work with.

First off, pat the clay into a size that will fit the hand print (or paw print) of your subject. Next, carefully press the widdle hand into the clay. I helped by adding extra pressure to their small fingers and got an incredible print. You could read their palm from the imprint it was so clear!

Tip#2: the instructions don't provide any guidelines, but I'd recommend using a wax paper below the clay when pressing. The first go on the butcher paper stuck and we had a re-do. Luckily that was not problem.

Before setting the prints aside to dry, I quickly used the handle of the paint brush to poke a hole in the print so later it could be hung and displayed (ribbon included in kit!).

The instructions says the clay hardens in 2 hours by air drying, but we let the prints dry overnight and they were still a bit soft. Even though they were soft, they were ready to paint and any new impressions quickly disappeared so it was actually pretty neat.

More painting fun! The hand painting was just as fun as the the foam planes and I have to say the boys got a little artsy on me with these which was awesome! What was great about having both kits is we had a whole bunch of colors to choose from too.

And the end result. . . .look at those smiles!! Thank you to my testers: Little D and Big D for testing our products and reminding me how simple things can be so much fun. It was a great afternoon and morning of crafts that I hope you all can enjoy with your friends and family! --Kim

Monday, July 11, 2011

Life of the Party!

We have had Basic Grey's 'Life of the Party' line in for a while, but it is so cute I had to make something with it. Here are directions on how to make a birthday card with matching gift bag. You will need the following supplies: 2 different pattern papers, solid cardstock, solid color bag, happy birthday stamp, ink pad, scissors, twine or ribbon, dimensional foam tape, hole punch, 1" circle punch, and the Epic Six Letterpress machine used to diecut the banners.


In the picture above you can see the whole array of papers from this line, basic cardstock, the $.99 birthday stamp, and the twine. Start off by cutting your green cardstock to 10"X7". Next, score it right in the middle so you make a 5"X7" folded card.


Next, using the Epic Six machine and the banner cutting dies cut out five of the smallest size; three of one pattern and two of the other.


Next, arrange the cut out triangles in an angular pattern acorss the length of your green 5"X7" card and adhere down using the double sided foam adhesive to give the banner dimension.
Then, punch two holes at either end of your card just above the line of the banner. Tie knots on the underside so it stays put.


After that, cut a small piece of solid cardstock to 1.5"X2.5" and stamp 'Happy Birthday' on it. I prefer to use VersaFine ink because it goes on the easiest and it stamps clearly.


Lastly, mount the sentiment with the foam tape and adhere it to the bottom right corner of the card and Voila!


Now it's time to make the matching bag! First, I printed out the word 'HAPPY' on pink text weight paper. I also cut out the second smallest size of the banners from the cutting dies.


Next, using your 1" hole punch, cut out the letters you printed making sure they are centered.


Now, mount the cut out letters using the same dimensional foam tape and adhere them to the little banners.


Next, we need to thread the twine through the banners. The dies do cut out a little notch which works great for flat ribbon. However, since I am using a fibery twine, it is much easier to punch holes and thread them through that way.


Again, punch small holes in the top of the bag so that the twine can thread through. Make sure to tie knots so it will stay put. I also used more foam tape to hold the banner onto the bag. Next, I stamped 'birthday' on plain red cardstock and attached it under the banner.


Here is the completed bag! One great way to personalize this is to spell out the gift recipient's name or any other sentiment on the banner.


Happy Crafting!


-Malyse