Hello PZ'ers!
Now that Halloween is over, it's time to jump right into one of my favorite holidays - THANKSGIVING! A time to get ready for some home cookin' and family fun. This week I decided to show you a fun and yummy table setting that any guest would love!
Materials you'll need:
- Assorted Sheets of Paper & Cardstock (Thanksgiving-Inspired/Complimentary fall colors)
- 1 Sheet of Handmade Paper (may vary in size)
- Adhesive (Glue dots or ATG Gun work best)
- 6.5" x 9.5" Clear Bag Sleeve
- Floral Wire
- Raffia (natural colored twine)
- String or colored twine
- Thanksgiving Stamp & colored inks
- Assorted buttons
- Resee's Pieces
- 1/16" hole punch
- Scissors
- Crafting blade or paper trimmer
- Tape
Step 1) Candy Corn Treat Bag
To make your candy corn treat bag, you will need your clear bag sleeve, raffia, string, adhesive and candies.
First, wash your hands and seperate your Reese's Pieces to only use the yellow and maybe a few brown candies. (Eat up the rest!)
Second, cut your bag at an angle (see the red line I drew just as a reference). You want the bottom to remain sealed and the top to be open.
Third, you will put clear adhesive on the edges and fold each half in. I used the ATG gun which puts the perfect amount of glue with no dry time necessary.
(It should look like a kite when you are finished.)
Now this is a trickiest part, you will then have a cone; however, there will be the inside of the bag (with the sealed bottom) where the candies will go and the inside where you placed adhesive (this will make a cone too). If you place your candies in the part that is not sealed at the bottom - unfortunately, they will fall out and you will have to eat them. Silly thing to make note of but I don't want anyone to be confused with the two.
You will then need to bundle up a handful of the raffia and trim it to size. I put a little piece of tape at the bottom to keep it all bundled together when I place it at the top of our treat bag.
Take some of the wire and wrap it around tight holding the clear bag closed and the raffia in place.

I took a small swatch of the handmade paper we will be using on our table mat to tie it all together. I used a glue dot to adhere it around the wire.

Tie it off with some string and raffia and you are ready to start the next step - the name tag!
Step 2) Name Tag
Take three colors of paper and trim them to size:
- 4" x 3" (red)
- 3.75" x 2.75" (gold vellum)
- 3.5" x 2.5" (green cardstock)

Adhere and center each piece on top of each other.

Stamp your message in the center and write your guests name on the back.
(Tip: Lightly rub the stamp pad on the edges to create a more vintage feel to the note.)
Punch two holes in the left corner of the card and string on some matching buttons. Tie it off and you are done!
Step 3) Table MatTo tie the whole look together, I created a matching table mat that can be used once and tossed.
(Tip: Don't want to throw it away? Laminate it then put it in your Thanksgiving box for next year.)

I took two pieces of 12 x 12 cardstock to use as my base.

I glued them together overlapping about 5.5".

I trimmed one of our handmade paper sheets down to (4) 14.5" x 8.5" sheets. There was also remnants from the trimmed edges that I used for the top of the candy corn treat bag and to wrap the silverware in. Center and adhere to the brown cardstock base. There should be about a 2" border of brown cardstock.
Step 4) Assemble and enjoy!
Set your table, wrap your napkin and place your treats on your guests plate. You are now all done! I hope your friends will enjoy this tasty table setting as much as I do!
Happy November & Happy Crafting - Feel free to leave comments or send your own thanksgiving-inspired craft ideas!
- Stephanie




 2-sided paper, tag & circle punch, 1/8 & 1/16 hole punch, scissors, adhesive, bone folder, brads, pencil, and metallic marker (optional).
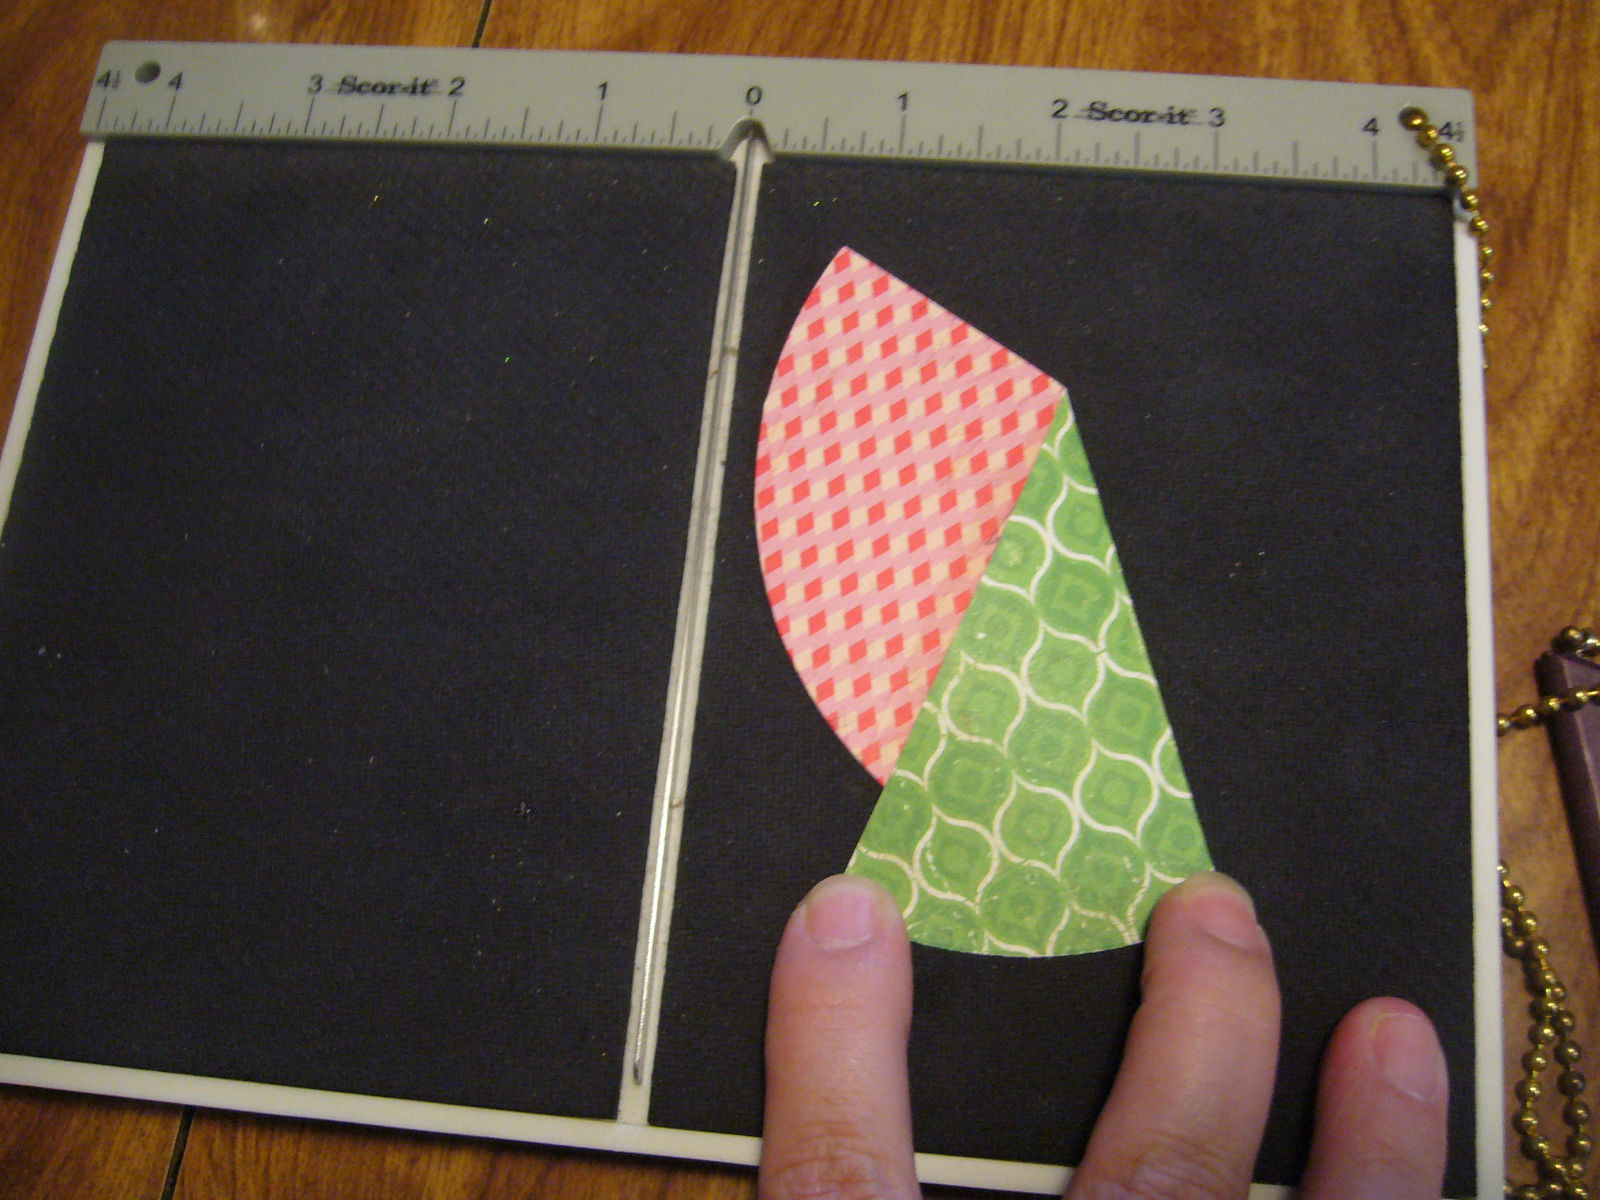
 Fold the tag diagonally, using the tag's scalloped top as a guide. The left edge of the tag should be right under the scallops.
  Flip it over and cut off the excess so it's square.
 Fold the right edge (the one you just cut) back over itself, and crease with a bone folder. You can use a metallic marker to outline the edge, so it really pops.
 Repeat 7 times!
 Punch a circle out of paper. If you're using scraps you can choose a coordinating color, but we had enough to punch a circle out of the same 12x12 we used for the tags. You can use any size circle punch, so long as it's big enough to hold all 8 tags, and small enough that it doesn't show over the top of the tag. Our circle is 2 1/2". A little tip from Mary: it's easiest to attach the tags in quadrants. She punched an extra circle out of scrap, folded it in quarters, and snipped the top edge of each corner. Lay this template over your circle and mark a line for each quadrant. She also put a hole in the center so we could pre-punch a 1/16" hole for the brad we'll add later.
  Put adhesive on the backside of the tag, underneath the scallops. We took the opportunity to try out our new Stamp Runner from Tombo, and it worked perfectly! Stick your tags to the circle--points towards the center (above the hole for the brad), and the diagonal fold up against the pencil marks.
 Once you've got 4 tags stuck down in your quadrants, you can fill in the empty space with your 4 remaining tags.
 Pop a brad in the center and you're finished!
 You can attach this to a card, a scrapbook layout, the top of a gift box, or......Make another tag flower with the folds on the opposite edge, and you can stick them back-to-back for a super cute ornament! We're can't wait to put up our tree and cover it with tag flowers!
 Happy folding!-Portland Paper Zone


