Showing posts with label martha punch. Show all posts

Monday, November 28, 2011

Glitter Window Holiday Cards

I have been stamping and card making for many years and today I would like to show you a fun technique that I learned a long time ago that is always a wow when giving a card.

You will need:

- Cardstock

- Punch - here I am using the Martha Stewart Anywhere Snowflake. I love this punch, because it is magnetic - you can place it anywhere on a piece of paper. You don’t have to worry if it will reach or not!

- Packing Tape

- Glitter

Cut your cardstock to fit the front of your card.

Place the punch in the center of the cardstock piece. To line this up nicely, I put the bottom of the punch on the back of the cardstock piece and make sure it is lined up evenly with the sides of the cardstock. Then you can place it on the top of the punch and the magnets with secure it together. Punch your shape.

Put your cardstock on a slick service, here I am using a glass mat. You could just use a piece of acetate or a plastic bag. The point is to not have the tape stick to your table. Place a piece of packing tape over the punched shape with the sticky part facing out the front of the card. Press into place.

Turn over the card and pour glitter on the tape. Burnish the glitter into the tape and pour the rest back in the bottle.

You can now mount your completed piece on the front of your card. If you don’t mind the tape on the back, you can do this technique on the front of the card so the recipient will see through the front to the inside of your card.

I finished my card by stamping a Christmas greeting. I love cards that are simple with that wow factor. You could definitely make 100 of these cards to send to everyone on your Christmas card list.

Happy Stamping!

Whitney

Tukwila Paper Zone

Friday, October 28, 2011

Kristy's Eerie Halloween Card

Supplies you'll need:

Black card stock (any size)
Standard cover stock for templates
Colorbox White stamp pad
Cosmetic sponge (leftover from Halloween last year!)
White Jellyroll pen
Pow Glitter Paper
Marvey Circle punch
Double-sided adhesive (we love the pink ribbon ATG gun)
Small witch-on-broomstick, bat, or other flying image (think Santa for the upcoming holidays!)

** By request we have uploaded a PDF printable "C ityScape" template! **

1. From scrap stock, cut cloud template (a bit wider than your card) and cityscape template.

2. Position cityscape at bottom of card.

3. Position cloud template near the top of the card. Ink up cosmetic sponge on ink pad, and gently dab onto card, overlapping dabs to create first layer of clouds.

4. Move cloud template down a little and shift its position to one side or the other, and repeat dabbing.

5. Continue creating cloud layers, shifting template, turning template over, to create random cloud puffs, all the way down to the cityscape. Dab well between the buildings.

6. Remove cityscape template and gently dab along very bottom of card to create "fog".

7. Use white Jellyroll pen to dot lit windows.

8. Punch out moon, adhere with double-stick adhesive.

9. Position witch/bat image over moon & you are done!


Thanks to Kristy at the Seattle store for creating this great Halloween card design.

Have fun PZ'ers making this super cute Halloween Card!


- Seattle Paper Zone

Wednesday, June 15, 2011

Glimmer Mist


Hi all! Today I want to share with you a popular technique using Glimmer Mist. In case you are not familiar, Glimmer Mist is a shimmery spray ink that comes in tons of bold colors.

The technique I want to share with you is called masking. Basically, masking is when you lay something down on top of your paper/project and spray ink over the top. Then you take that thing that you laid down off, to reveal a negative image.
Here is what it looks like step-by-step:

Step 1: Make or find shape for masking. I wanted to create a sky, so I simply cut out clouds from card stock.


Step 2: Lay down shape over project and spray ink over the top.
Step 3: Take off shape to reveal negative image. (For this card, I then stamped a hot air balloon with black ink over the top.)

Here is another card I made using the same technique:


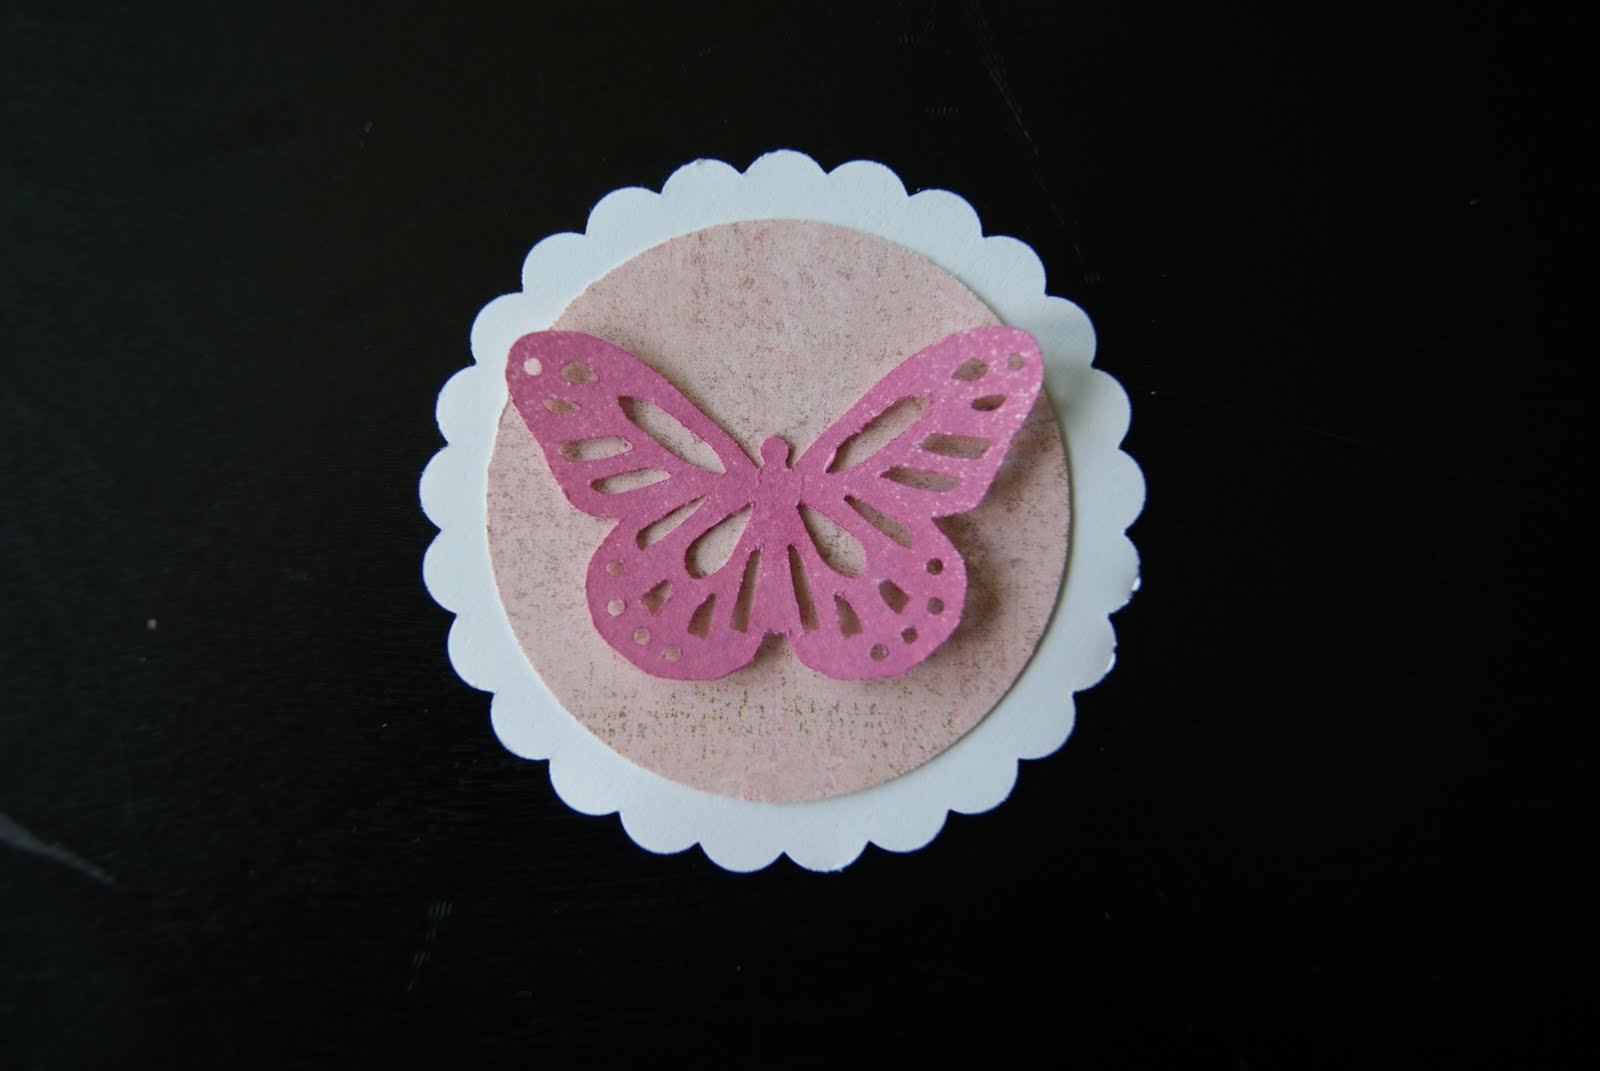
For this card I punched out butterflies with a Martha Stewart punch and laid them out over a pink piece of paper.
Then, sprayed with Black Cherry Glimmer Mist.
And then the exciting part: take shapes off to reveal negative image.
I then stamped a saying on the paper with black ink.
Next, I punched 2 circles, one white scalloped and one pink. I also used took one of the butterflies I used as a mask to use as an embellishment.
Layer all the shapes together and glue. Then mount on card.
(One things that you can't really see in the photos is the shimmer that is in the ink.)
Glimmer Mist is so much fun to use! And will all the colors that are available at Paper Zone, the possibilities are endless!

Happy Crafting!
Christina

Friday, April 22, 2011

Paper Easter Eggs


Decorating Easter eggs does not have to involve messy dyes or boiled eggs. Here is a quick and easy way to use some leftover scrapbook paper and make some super cute eggs. All you need is some cardstock paper, an oval punch and adhesive (preferably an ATG gun). I used Making Memories 12 x 12's from the Pitter Patter line and Basic Grey 12 x 12's from the Kioshi line. I really like the colors and think that the patterns offset the solids really well.

These eggs are super easy to make. Just punch a stack of ovals in a variety of colors and patterns. I used a scalloped edged oval punch, a smooth oval would be great too.

Each egg takes between 8 to 10 punched ovals. You can use less, but the more punches you use, the more intricate and beautiful the egg becomes.

Next, fold all of the ovals. You don't even need to score the folds. Just be very careful to fold the ovals down the center, especially if using a scalloped edge. You want to be sure that your edges all line up once you start the gluing. Also, remember when folding that the outer side of the paper gets adhered, so fold the color/side that you want visible on the inside.

Next, start gluing them all together. An ATG gun makes this a snap. Runner adhesive would work too. Put adhesive on one outer edge, add a folded piece, add adhesive to the next edge, add another piece and so on. Keep adding pieces until you have an accordian egg of about 8 to 10 pieces. That easy!

You can use pieces of all the same color, all solids or all print, you decide. I love this project, because, like dying eggs, each egg is unique and kids can have fun picking the papers and images they want in their egg. You could also try making some eggs out of the blooming seed paper and plant them after Easter.

For the final touch on my basket, I used my favorite Martha Stewart fringe scissors on some tissue paper to make some tissue grass. This is one basket that won't spoil or make you fat! Enjoy.

I hope you all have a wonderful and lovely Easter weekend,

Kim

Friday, September 10, 2010

Zine Scene

I want to talk for a moment about self publishing. Sure you can blog, tweet, or facebook your ideas to the world on the internet, but there's nothing more satisfying than holding your own published work in your hands. That's why I'm a huge fan of zines. It's hard for me to define a zine, so check out the Wikipedia entry on zines for a better idea.

Anything you're passionate about can be turned into a zine. If you don't fancy yourself a writer, you don't have to use words. You can draw a comic or showcase your art. Seriously--I can't stress this enough--there are no wrong answers when it comes to making a zine.

This last year pretty much all I did was paint my nails, so I wrote a zine about it. As I was in the final stage of finishing up my zine (just in time for the Portland Zine Symposium, which PZ proudly sponsored this year!), I unpacked the store's shipment of Halloween punches from Martha Stewart. The drippy goo punch had my name all over it! It was like Martha sent this punch to the store just for me.

Drippy Goo
in full effect on the "helpful art tips" page of my zine. Just because we can tweet our every thought for all the world to hear, doesn't mean we should forget about the printed page. It's like the difference between an e-vite in your inbox and getting a beautiful handmade invitation delivered to your front door. They're both important, but some occasions call for a little extra attention to detail. If you're interested in learning more about making your own zines, pick up this very helpful book, Stolen Sharpie Revolution, and head on over to the PZ to see what you can come up with!

--Mayzie, Portland Paper Zone

Wednesday, September 8, 2010

Paper Lantern

Hi Everybody!

Well today is my baby girl's first Birthday! And this mommy has a party to get ready for this weekend... I wanted to share with you one of the many crafting projects I've been working on for the party: Paper Lanterns!

I can not believe how easy they were! All you need is paper, scissors a border punch and a little adhesive!

First you'll want to take your paper (any text weight paper will work, I used Stardream) and fold it in half hot dog style.

Next cut on the folded edge about 3 inches into the paper every quarter inch, or so. (Note: If you want to make this go faster you can use the Martha Fringe Scissors!)
Unfold the paper and punch the edges:

Finally glue the two raw edges together to form the lantern:
You can customize these to fit any occasion by using a different border punch along with any color paper.
What party can you make these for?

Christina