Showing posts with label paper crafts. Show all posts

Wednesday, June 29, 2011

4th July Bag


Happy 4th of July…almost. The 4th of July is definitely my favorite holiday of the year. It has been since I was a kid. The only expectation for the day is to have fun: BBQ, friends, family, and some fireworks if you are lucky.

This cute little pocket bag is perfect to hold poppers or crackers to give to the kids at your 4th of July gathering. It would also be great to hold a host of other treats.


Ingredients for this bag:

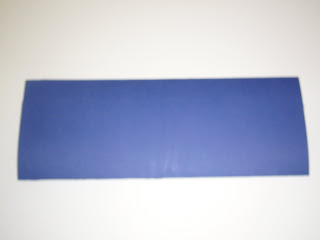
1 blue 12x12 for the bag
Red cardstock for stripes
White cardstock for stars
Adhesive
Scoring tool
Paper cutter

Directions:

1. Make 3 scores on a 12x12 at 6.5 inches, 6 inches, and then 5.5 inches.


2. Rotate the paper by a 90 degrees, and make 2 scores at 8.5 inches and 4 inches.

3. Crease both of these later scores and apply adhesive to the reverse side along one outside edge. Fold over and seal.


4. Fold the piece in half along the middle score with the sealed side facing out.

Now fold at the two remaining score lines in the opposite direction.

Put a small amount of adhesive in the middle of the inside short edge and adhere both edges together. You should now have your bag.


5. Punch two small holes on each side of the top of the bag.

Cut two 6 inch pieces of ribbon. Knot ribbon (I double knotted it to make it more substantial) on one end.


Thread ribbon through each set of holes and knot the opposite end to make the handles.


6. Cut ½ inch strips of red cardstock to use as stripes.

Place them on the bag and trim.

Adhere with adhesive.


7. Punch out stars from white cardstock

Adhere the stars to the bag.


Fill your bags with goodies!

Happy Crafting and Happy 4th of July

Sandra

Monday, May 16, 2011

Paper Marbling


The art of paper marbling dates back centuries in all parts of the world. You have probably seen many of these beautiful papers at fine stationery stores or used as covers on hardbound books. I have always been fascinated by these and it wasn't until recently that I discovered it is really a very simple process. Basically all it entails is floating color (ink or paint) on water, then transferring it to an absorbent paper surface.

I tried my hand at this ancient technique using a Japanese Suminagashi Marbling Kit and regular copy paper.


First you need a dish filled with water (about 1-2" deep) that is large enough that you will be able to lay your sheet flat on the surface of the paper. This kit includes "float papers" (pictured above) which are basically just 1/2" circles of paper that have are slightly heavy in weight (maybe close to an 80# text). Completely submerge these float papers into your water and let them float back up to the surface.


You will then drop one drop of your paint onto the center of the float paper. The paint should immediately spread across the surface of the water. Make sure not to touch your ink directly to the surface of the water but rather let it drop onto the water over the float paper. This prevents the ink from sinking to the bottom of your tray.


Add additional drops of ink in your choice of alternating colors until you feel you have enough ink floating on the surface of your water.


At this point, you can manipulate the ink and create the marbled effect. I did this by slowly running the sharp end of a stick through the ink to create a random effect. you can also try gently blowing on the surface of the water to move the ink around. Really the possibilities are endless, but it is important not to stir up the ink too much as you can muddy the colors and lessen the distinctive marbled effect.


Once you are satisfied with your pattern, just lay your paper on the surface of the water. You do not need to leave it there very long, maybe just a couple of seconds.


Carefully remove it from the water and place it ink side up on some paper towels or newspapers to let it thoroughly dry.


Even I, a true beginner in the art of paper marbling, was able to create these really fun and totally distinctive patterns in just a few minutes. Here is another color scheme I tried that I thought turned out really nice:


This technique is a lot of fun and though I am only just getting the hang of it, I think I was able to get some really interesting results. I can't wait to try some more advanced designs! -Amanda


And on another note...

Congratulations to Ally from Salem PZ for winning our Oh Baby! Crafter's Challenge!

Ally created a little onesie invite featured last week on our blog. It's so cute and a really creative way to use all of our secret ingredients. Nice Job Ally!

We are still accepting submissions from our customers through May 27th, so if you have a great idea for a fun baby project, check out the details and get your entries in soon! We always love to see all of your great creations!

Wednesday, April 27, 2011

May Day Basket


Hi Everyone

I certainly can't believe that it is almost May!. This year has just flown by. Pretty soon it will be Summer, with all the fun that brings. As a child I remember making May Baskets, and thought it would be fun to make some this year. Here is a simple quick pattern for an adorable May Basket. It is so simple and quick, you could make a bunch to hand out, or leave on doorsteps. (provided it isn't raining, of course!


Ingredients

1 12x12 patterned cardstock
Adhesive
Paper scorer
Paper cutter
Decorative scissors
Embellishments


Step 1:

Cut a 9x9 square from your 12x12. Save the scraps to use as a handle.

Step 2:

Score your 9x9 square at 3 inches and 6 inches both vertically and horizontally. You should end up with 9 scored squares on your cardstock.


Step 3:


On the top and the bottom of your square, cut along the scores until you reach the horizontal score marks.


Step 4: Cut the corners off of your square.


Step 5:


Bring up the corners flaps and secure them to the middle flaps with adhesive. You will want to overlap the pointed corners. You now have the bottom of your basket.


Step 6:


Using decorative scissors, cut a 2x12 strip out of the longest scrap piece to use as a handle. Secure to the bottom of the basket with adhesive.


Step 7:


Embellish as desired and fill with flowers! I used ribbon bows at the base of the handle.


Happy Crafting


Sandra


Friday, March 25, 2011

Rosette Card

Hi Everyone

A few weeks ago, one of our blogs was about creating rosettes, and while visiting our Shoreline store, I saw a sample that Sara, the Assistant Manager, created using the rosette. It was so cute, I just had to re-create it and share it with you.

Ingredients for this card:

Patterned 12x12
Adhesive
Button
5.5x8.5 piece of cardstock, scored down the center, for your card base.
Scoring Tool
Paper Cutter
Embellishments


Step 1
Cut 4 pieces of out of the 12x12 measuring 2x3.


Step 2
Score down the middle of each piece at the 1 inch mark.


Score at 1/2 intervals down the width of the pieces

Step 3
Accordion fold the pieces and then fold down the center.
Step 4
Using adhesive on the inside of each folded piece, secure the sides. Using adhesive on the outer sides of each piece, secure the pieces together.
Step 6
Using adhesive secure a button in the middle of the rosette.

Step 7
Secure this mini rosette to your card and embellish as desired.


Thank you, Sara, for this great idea.
Happy Crafting, Sandra

Wednesday, February 23, 2011

More Fimo Projects!


Hi everyone! I will be in our Seattle Store this Saturday from 2-4 giving a free demo on Fimo clay! In light of this I wanted to share some of my recent Fimo projects with you!

The first project is this yummy clay doughnut!

1. Mix clay together to make the perfect color for the cake part of the doughnut. (I used equal parts brown and white with a little bit of yellow.)

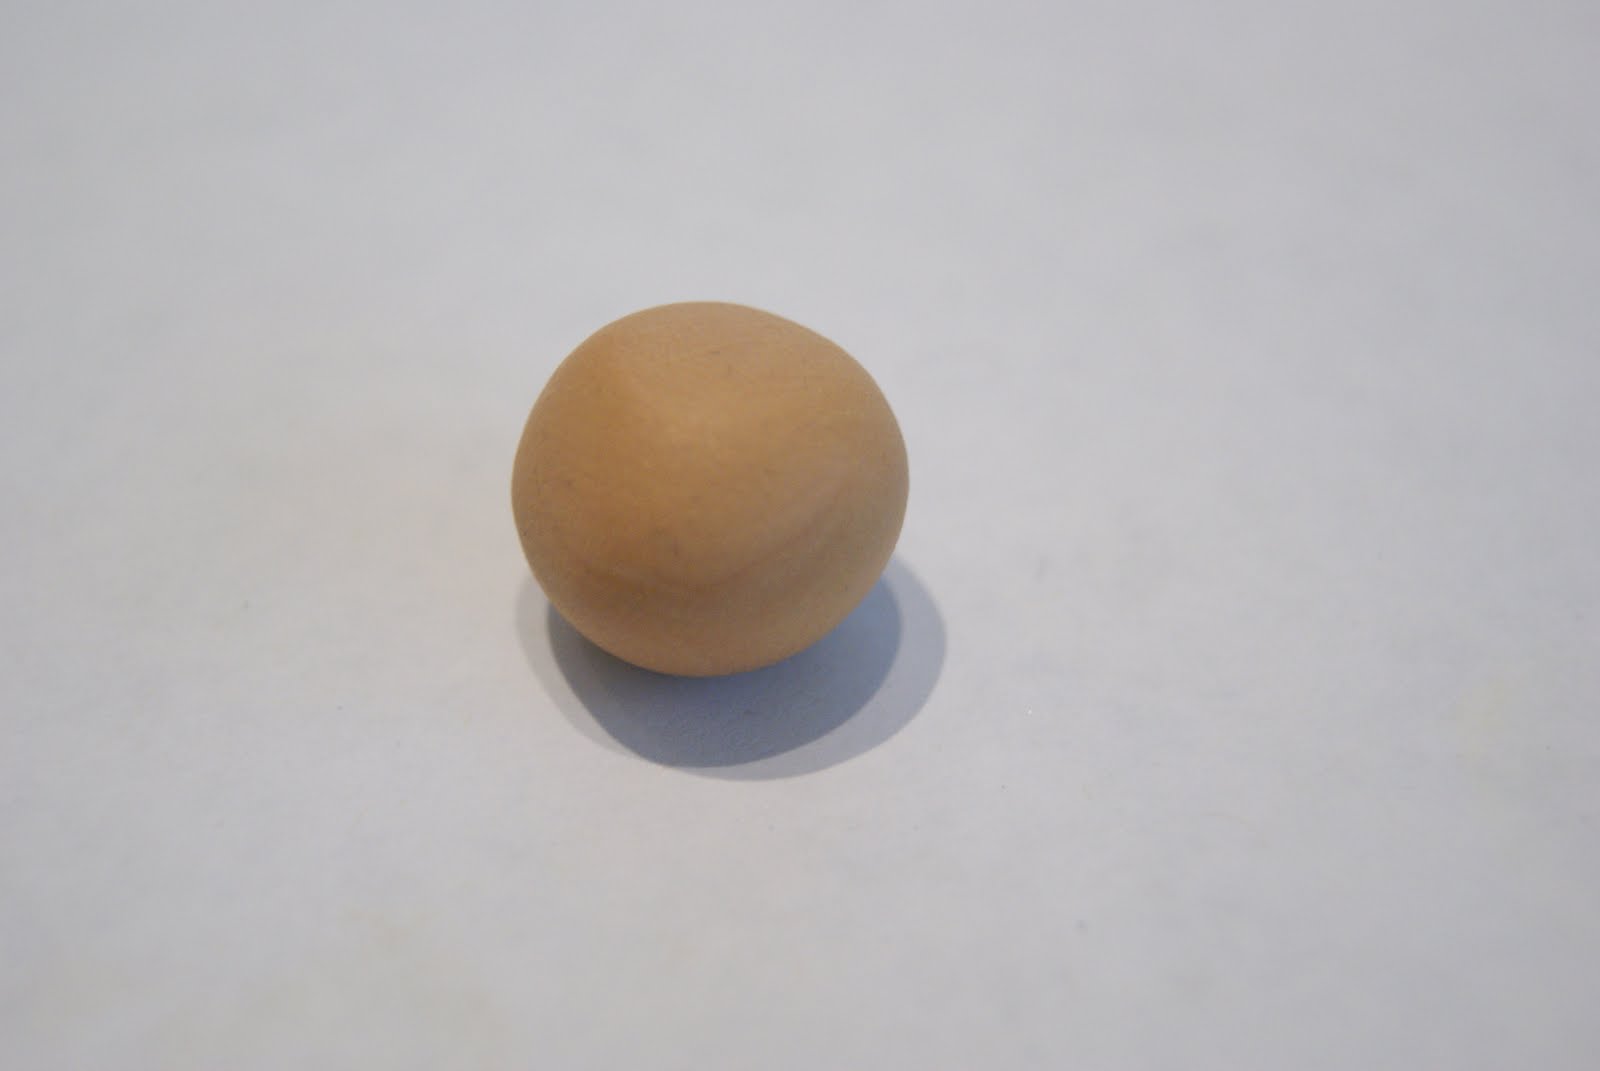
2. Roll clay into ball.
3. Use a toothpick or other round tool to create the hole in the center of the doughnut.4. Take a small piece of brown clay and roll into ball, then flatten.
5. Repeat step 3 to create hole in the brown clay, for the frosting.
6. Press the brown frosting on top of the doughnut.

7. Roll out a thin line of colored clay of your choice for the decorative frosting.8. Apply the decorative frosting to the top of your doughnut and bake for 30 minutes at 230*. (I added some glitter to the other doughnut I made that is pictured at the top of the page, if you would like glitter on your clay project apply glitter before baking.)

Next up is how to create a clay embellishment for a card or other paper crafting project.

1. Roll Fimo into small ball and flatten slightly.
2. Impress stamp into clay (I like to apply a clear shimmery ink, VersaMark Dazzle, to my stamp before I impress it into clay, it makes it a little easier to release and also leaves the clay shimmery!)

3. Follow baking instructions on package (30 minutes at 230*)
4. You are ready to use you clay piece to embellish a card or other project!
I would love to see you this Saturday in our Seattle store for the free demo. I'll be sharing more Fimo projects and tips!
Happy Crafting,
Christina