
 Upcycle is a new and very fun line from Cosmo Cricket! It has a retro yet girly appeal to it. This line includes eight double sided 12X12 patterned papers, a paper crafting kit, a 6X6 mini assorted deck, buttons, butterflies, stickers, jewels, and chip board embellishments. This line gives off a springy feel with the bright, bold shades of fuchsia, mustard, turquoise, and chartreuse, sure to make any project fabulous!


Below, you can see the coordinating embellishments.


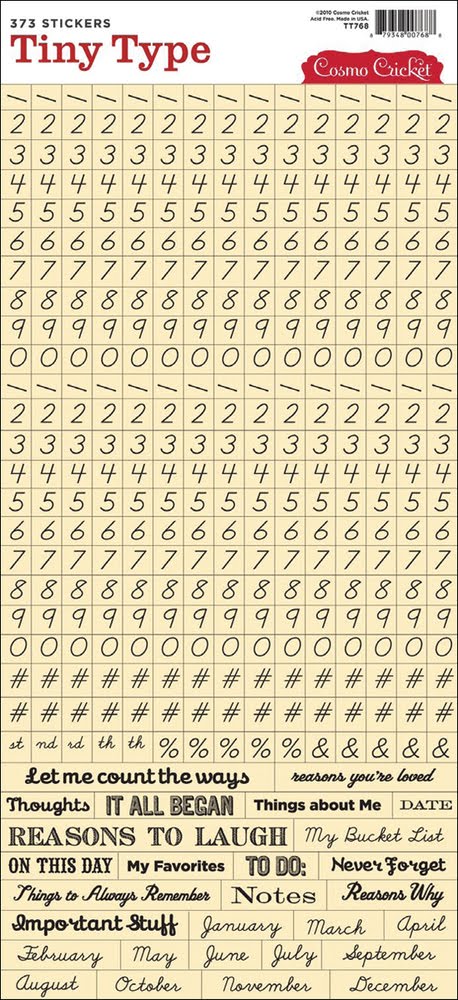
Cosmo Cricket also has ten new Tiny Type letter formats. They come in a variety of fonts and colors and each package also contains some really cute images and sayings. My favorite item of the new line are the Tiny Type Numbers! They, too, come in a variety of fonts and colors including black, cream, and clear. Some of these colors coordinate with the Upcycle line, too! Tiny Type is a cute and easy way to add lettering to any project!


All of the items seen here and more are now available in all nine of our stores! To see some fabulous crafting ideas by Cosmo Cricket, please visit their blog here.
___________________________________________
By the way....
We are having a blog follower contest, now through the 11th of April. To celebrate the 1 yr anniversary of the PZ blog, we will be selecting one follower of our blog at random to win a $20 Paper Zone gift card! If you are not already a follower, but are interested in joining, here are some easy steps to follow:
1. At the top of the home page of this blog, you will find a button to 'sign in'. If you already have a Google account you can sign in, if not you will need to create a Blogger account by clicking on 'get started'.
2. You can use any email address to create your account. Once you fill in the information and click 'create', your profile account will pop up. If you scroll down you will see an option to add blogs to follow.
3. Click on 'add' and type in our blog address: http://www.paperzoneblog.com. You will have an option to follow publically or anonymously. Click 'follow' and you are done! Wasn't that easy?!
You are now a follower of our blog! Congrats and good luck with the contest!
Happy Crafting! -Malyse


 Next, arrange your photos on your base papers in a way that you find appealing. I am using two groups of photos. The first are posed photos of me and my family. Since there is a lot of color in these photos, I put them on a neutral solid paper. The second group of photos are action shots of dancing. I put these on a colorful and busy patterned paper because the photos are lacking color.
  Next, back your photos with solid color paper. Start by using your ATG gun to adhere your photos to your paper. In my previous post, I encouraged you to cut the paper to a certian dimension and then adhere the photo. That is an easy way to adhere photos that are 4X6. In the case below, I cropped this photo, so it was an odd size. I find it easier to border odd-sized photos by adhering them to the paper first and then cutting them out.
 Next, you want to choose a photo on each page to highlight. On this page, I chose a close up shot of my father and I. A nice subtle way to highlight a photo is to back it on a different colored cardstock. This will make the photo pop and catch the onlookers eye.


