Showing posts with label Copic markers. Show all posts

Friday, November 25, 2011

Holiday Gift Tags With Fun Flock

Hi All! I am so happy to share a fun product with you all, Fun Flock embellished gift tags! Do you remember Fuzzy Posters from your childhood? Well, this product is Fuzziness in a jar! Paper Zone carries it in a variety of colors and I want to share a project with you that I made with the red flock.


The supplies needed for this project are the following:

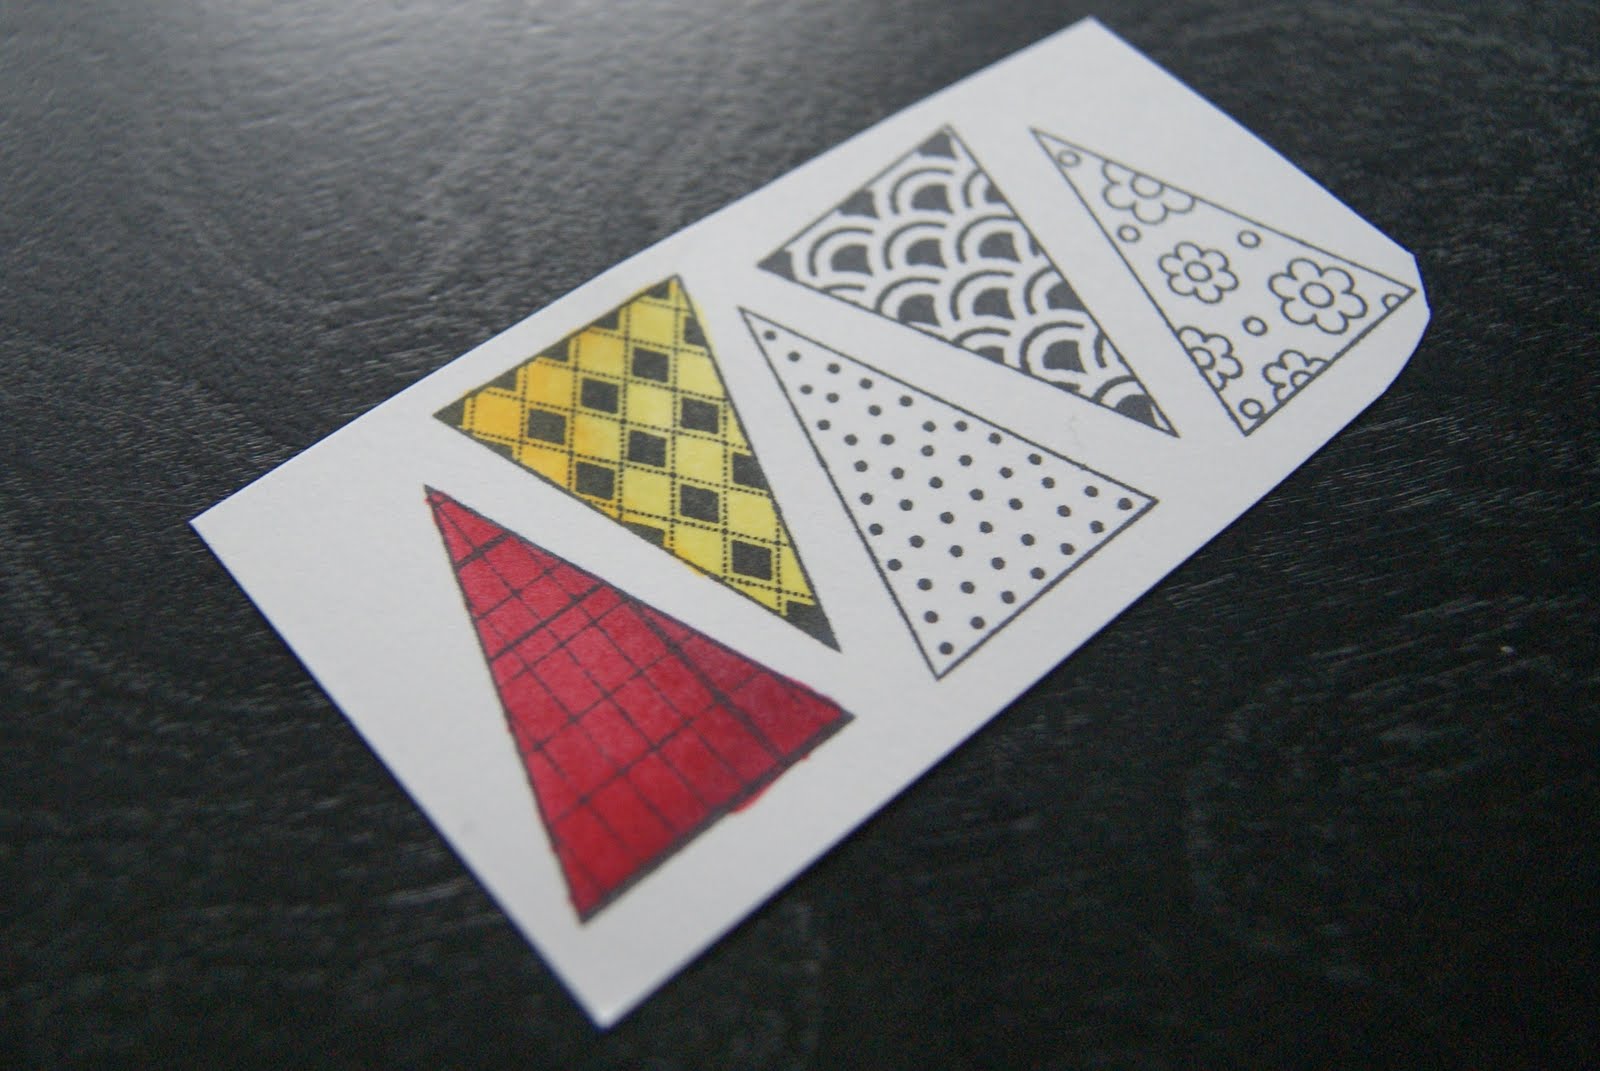
Red Fun FLock, Black Memento ink pad, Quickie Glue Pen, rubber stamp, gift tag (I made my own by cutting white cardstock to 2.5 x 4 inches and snipping 2 edges off.) and Copic Markers (I used BG10 and R46).

Step 1: Stamp you image with the back ink onto the tag. Step 2: With the red Copic marker color in the scarf and hat or where ever you want the flocking to go. This is done to ensur the flocking really stands out and looks solid as some of it will rub-off slightly after application.

Step 3: Using the Cool Shadow Copic Marker color the inside edges of the stamped image to give it some dimension.

Step 4: Using the Quickie Glue Pen apply glue to the red areas where flocking is desired.

Step 5: Pour some flocking over the glue and press down with fingers. This is a similar process as applying glitter, but you want to make sure and press the flocking into the glue to ensure a lot of it stays.

Step 6: Finish off tag by adding an eyelet and ribbon.

Happy Black Friday! As you are out shopping for gifts, don't forget about the wrapping and making the package as memorable as the gift! Making holiday gift tags is one of my favorite holiday traditions, it's something I look forward to every year!


Happy Holidays!


Christina

Wednesday, March 9, 2011

Copic Cards

Hi all! I want to share with you a few quick and easy cards I made using stamps and Copic Markers. If you haven't yet tried using these amazing markers I would highly suggest getting your hands on a few... they come in over 300 colors and blend together better than any other marker.

To start you want to gather a few supplies. I used Copic markers (R39, R46, Y02, Y19, YG13, G24, BG45, BG49, RV02 & RV34) Hero Arts clear stamps, Memento black ink, baker's twine, Classic Crest card stock, foam adhesive and scissors.Next stamp the images using the Memento black ink on to your white card stock.
Now you are ready to start coloring!
To get dimension on my banner I used two Copic markers to color them, one light and one dark shade of the same color (For the yellow piece I used Y02 Canary Yellow and Y19 Napoli Yellow).

First cover the whole banner piece with the light shade Y02.

Next take the darker yellow, Y19, and color in the top left corner.

Then go back with the lighter shade of yellow, Y02, and blended the two shades together.

(The trick to great shading is light, dark, light.)

Next color in the rest of the banner pieces using the light, dark, light technique.

Here it is again in teal blue:
Light over the whole piece.

Dark in the left corner.
Then light again blending the to shades together.After you have colored in all of your pieces cut them out.

Next, using foam adhesive stick them to the card.
Finally glue some baker's twin to the banner pieces to "string" them all together.
Wasn't that fun and easy?

Here is another card I made using Hero Arts clear stamps and Copic Markers. I used the same basic shading technique in this card to color the wooden clock; the light, dark, light technique.


Happy Coloring!
Christina

Wednesday, January 19, 2011

Yellow and Gray

I have been totally obsessing over yellow and gray. Have you seen this combo lately? I have been seeing it everywhere and love it. I was so inspired I decided to make a wedding invite using these colors.(source)

Wedding invites can seem intimidating but don't be discouraged! I want to show you how simple and easy they can be using products from PZ.

To start out you'll want to find the main pieces of your invite. I stared with a piece of Hambly patterned paper, PZ Facets Slate envelopes and card stock, a 5x5 Pocket Fold Envelopment and some clear stamps from Basic Grey's new Curio collection.

I also selected some Stardream paper in the color White Gold to use for the piece with the wording as well as the Direction and RSVP cards. I used a basic word processing program on my home computer as well as my home ink jet printer for all the printing. To add a little extra interest I wanted to stamp some the the circle designs from the Basic Grey clear stamp set that went so well with my patterned paper. To get the placement of the stamps just right I placed the unmounted and clean stamps on top of my printed piece. When I had them laid out exactly where I wanted them I took my clear mounting block and placed that right on top of my stamps. With a little pressure the stamps clung on to my block and I lifted it up so I could then apply the ink.
After stamping the piece with the wording I mounted it to a piece of PZ Facets Slate card stock cut down to 5.5 x 5.5 inches. And then added a one inch strip of the pretty yellow patterned paper. Now you are ready to glue this to the Envelopment Pocket Fold card.
Next I printed and cut my RSVP and Directions cards as well as adding a half inch strip of the patterned paper. Those are tucked away neatly in the pocket with a little RSVP envelope also in PZ Facets Slate. I wanted to add a little something extra to the exterior of the card so I decided to make a seal. To do this I stamped the big circle design on a small 2 inch piece of White Gold paper. I then mounted that to a piece of slate card stock cut to 2.25 x 2.25 inches. To bring a little yellow into the seal I chose to add a pearl to the center of the design. We carry the self-sticking pearls in so many colors but the yellow we had was not an exact match with my invite. I simply colored the pearl using a Copic marker to get it the exact shade I needed! (Did you know that you can use the Copics to color rhinestones, plastic and metal too? How cool is that!?)


The finishing touch was adding the seal to the flap of the card.
Wasn't that easy? If you are thinking about creating your own invites I would encourage you to do so. They are easier than you think and you can make them to custom fit your event. (Not to mention you are going to save a lot of money!)

Happy Crafting!
Christina

Friday, September 24, 2010

Crazy for Copics!!

Hi all!
I am so excited that we now have Copics in our stores! So many people have never seen them before so I wanted to share a few tips with you as well as a project that I made using Copics.

Copics are double tipped alcohol markers. The thing that sets them apart from any other marker is that they are blend-able! They are great to use for coloring rubber stamped images but many people use them for creating comics, fine art, and architecture renderings.
The paper that is recommended to use with Copics is Neenah Classic Crest and the ink pad that works the best is Memento. You can get both at PZ!!

For more information on Copic Markers please visit their official website here.

Here is a card that I made using Copics, Neenah Classic Crest Paper, Memento Ink, and PZ Factes coordinated stationery. As you can see you can get a really nice blended color using Copics.

I am excited to see what you can do with Copics!
Christina