
 A year ago we at Paper Zone decided that we wanted to interact with Paper Zone customers in a fun and creative way. Our goal was not to sell product, but to share ideas and foster inspiration. We had no idea how much fun we would have along the way!
 When we started the blog, none of us had ever blogged before, and many of us are novice crafters so we thought "what can we teach anyone?". But when you have a love and enthusiasm for creating, and access to so much great stuff (from PZ of course!), ideas arise, inspiration occurs and I think some really great posts have emerged.
We purposefully sign each post so that you know who the creator is and I am sure that you have a favorite or two in the mix. So, today I am going to introduce you to our blogging team and share with you their favorite post from the 1st year. Going back, you can see, we've come a long way baby!!

Lauren. Lauren is our Marketing Manager and what I love about her posts is that she is great at bringing the unexpected: headbands, canvas gifts, etc. Lauren's posts show the real depth of what Paper Zone product has to offer. When asked which of her posts was her favorite, it was the most popular post OF ALL TIME, the tissue puffballs (aka Martha Stewart puff balls, pom poms). Lauren says she has even used these puff balls for her grandfathers birthday party. We have used them on numerous occasions (like Girlfest! above) and they never get old!
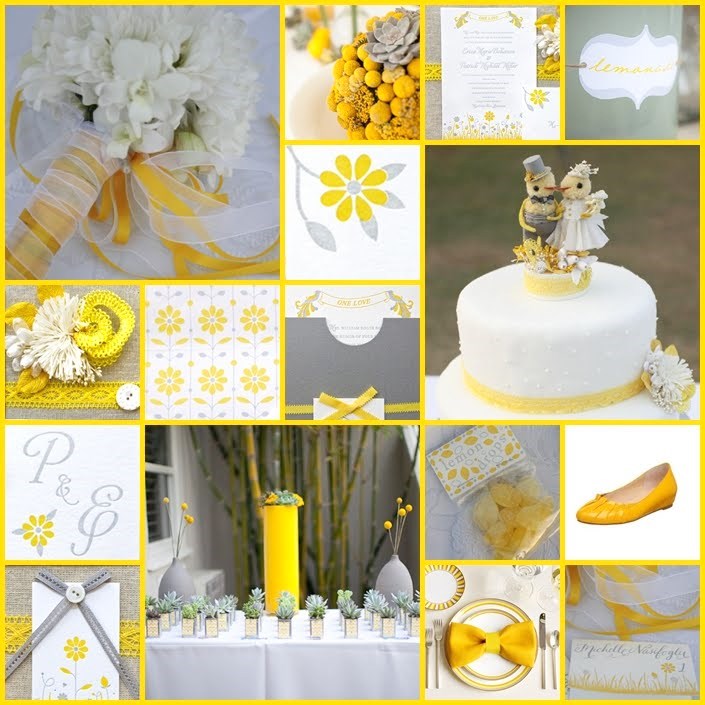 Christina. Christina is the Regional Manager of Paper Zone, overseeing the stores. She is our 'go to' person when it comes to crafting knowledge and she always has super cute ideas (and is the Fimo master). Being the mother of a 1 & 1/2 year old, I do not know how she finds the time to craft, but I am glad she does!! Her favorite post was her yellow and gray post demonstrating how easy it is to make your own wedding invitation. Christina says that she picked this post because it encompasses what she loves about Paper Zone: being able to help people on their most important days (weddings, birthdays, etc.) AND we cannot get enough of the yellow and gray color combo!!
Sandra. Sandra is our Replenishment Buyer, who makes sure all of our stores stay well stocked. She is the cardmaker of the bunch and always comes up with creative elements resulting in more than just a typical card. Her favorite post is the waterfall card. This is one of those creations that I'm thankful for You Tube for, because it was such a neat card to see. Sandra loves this card because it's versatile and the design can be used for any event, not just holidays.
Amanda. Amanda is our Merchandise Manager who is responsible for buying all the great stuff we have in our stores. Amanda's favorite post is also up with our top posts viewed by yo
 u: Glubers are Here! Having been with Amanda at CHA when she first saw the glubers, I know why she loves this post. It was like seeing a child's eyes light up on Christmas morning when she made her first rosette and proudly wore it during the show. You can't beat a product that makes crafting easy with results that are pretty darn cool.
Kim (me). I am the General Manager of Paper Zone, overseeing, well, everything and I am the most inexperienced crafter of the bunch.
 So, if I can make something, you know you can do it too!
I have to say that I really loved the 12 days of Christmas because we were a little nervous about trying to come up with so many ideas and, as usual, we had more than we could post. Plus I was able to trick my husband to pose with the paper hat in the "rat ring" post. Those holiday posts were about real sharing of real traditions and I loved it.
But my favorite post has to be my first attempt at quilling. I was so amazed that I was able to quill a flower and a dragonfly on the very first try I thought I stumbled upon the next great art. . .and I still feel that way!!
During the year we also had some posts by Tiffany, our Assistant Buyer who has since moved on and we will now be hearing from Malyse who brings a great scrapbooking background to the mix. We also have ha
 d great contributions from the stores and we hope to have even more in the coming year.
We remain committed to providing at least 3 great posts a week with creative project ideas, interesting techniques, sharing other blogs we love, and of course presenting all of the new and wonderful product in our stores. Please tell US what YOU love about the PZ blog!!
Stay tuned for the announcement of the winner of the $20 Gift Card!!!
--Kim


