Showing posts with label Cosmo Cricket. Show all posts

Monday, May 23, 2011

Social Club from Cosmo Cricket!


Happy Monday everyone! I was inspired by this new fabulous line, Social Club. This new line from Cosmo Cricket is inspired by Ol' Blue Eyes himself, Frank Sinatra! Social Club celebrates the appeal of a cool gentleman. With images of martinis, dancing, and fedoras, this line sure has a fun and retro appeal to it! Tomorrow is my birthday and I am going to Vegas to celebrate it, so I decided to use this line to come up with a birthday invitation and matching thank you card.


For this project I used a red card from our new Create-A-Card line from Doodlebug as the base for my invitation. (for more ideas using this card line see Christina's cute blog here
I used 5 out of the 8 12X12 patterned papers, the matching sticker sheet, glossy accents (not pictured), a peacock feather stamp (only $.99!), a couple pieces of solid colored cardstock, and an ATG gun to glue everything together.


I started by cutting 3 strips of paper from my two favorite patterns and a dark brown wood grained cardtock in 3.75", 3.5", and 3" strips. I arranged them in such a way that they gave a staircase look, pictured above.


Then, I peeled off one of the blank tabs from the sticker sheet and stuck it down to the tab on the card and wrote, 'You're Invited'. What I love most about this file folder card, is that when it's placed in the envelope, you can see this little message even before you pull the card out!


After that, I peeled off a border sticker and cut a 4.5" strip and placed it at the bottom of the card to add a little martini olive accent.


Next, using the same dark brown woodgrain cardstock cut a square about 1.75" in size. I peeled off a frame sticker and placed it on the brown square. I then placed this on the right side of my card and used a little bit of foam tape to make it pop out.


Then, I added a little bit of Glossy Accents to the top of a martini sticker to give the impression of liquid. This type of dimensional adhesive is a great way to give any embellishment more personality. Although Diamond Glaze can do the same thing, I prefer to use Glossy Accents because it is a little thicker and tends to stay right where you place it. Also, the fine point tip of the bottle ensures accurate placement.


Once the Glossy Accents is dry (this might take a while) I placed the martini sticker inside the frame. You can also stick it down first and add the Glossy Accents at the end.


Now it is time to do the inside! I cut out one of the blocks with lines so I could write the party information for the inside of the invite. I mounted this on a martini olive pattern paper with about a .25" border.


Then I added the other martini sticker to the inside of the card to add a little more decoration.


Next, I wanted to decorate the envelope so it wasn't so boring. I started by cutting out the word "Celebrate" and glued it to the center of the envelope.


After that, using the letters from the sticker sheet I spelled out "Let Us" and placed it above the "celebrate" image in another staircase pattern.


And....Voila! Your invite and envelope are done! Wasn't that easy?!


Now it's time to make your matching thank you card to give a Thanks! to all those people who came out to celebrate! I started by cutting out another image from the 12X12 pattern paper. I chose to use the image of a man and woman cheers-ing!


I cut out an A-2 card from a green cardstock for the base of the card. Then I cut out a 3.37"X5" sized piece from the same peacock feather design paper I used on the invitation. I placed both this piece and the image onto the card unevenly.


Then I used a blank banner sticker from the sheet, wrote 'Thanks!', and placed it on my card.


Then, using Glossy Accents again, I gave dimension to the champagne glasses on the image.


I like to add a little surprise to the inside of my cards, so I decided to stamp the peacock feather stamps to the inside of the card using a turquoise colored ink.


And.....Voila! Your Thank You card is finished!

I hope you enjoyed these as much as I did making them. I want to thank Whitney, the Manager at our Tukwila store, for giving me the inspiration for the invite. She always has such great ideas!

Happy Crafting everyone!
-Malyse

Monday, April 25, 2011

Oh Baby!! Crafters Challenge

Paper Zone is happy to announce our spring Crafters Challenge!! Because there is nothing as new and fresh as a newborn baby, this spring we will be celebrating life's little bundles of joy. We will even be having a special Baby Event in May (stay tuned for more information on that!). So we challenge you to create a "baby" themed project that will inspire us all. It could be a baby shower invitation, a scrapbook page, a baby shower favor, nursery decorations, you decide!

To enter the Crafter's Challenge you must use 3 of the secret ingredients below in your bouncing baby creation. To enter, please email pictures of your project to blog@paperzone.com, or post pictures of your entry on Paper Zone's facebook wall. Entries must be received by Friday May 27th. The winner will be announced May 31st.

The winning submission will receive a $30 Paper Zone gift card!!


The Secret Ingredients are:

  • American Crafts Fabric Paper "Dear Lizzy" line
  • Felt (any color)
  • Basic Grey Buttons (any color)
  • Liquid Pearls (any color)
  • Cosmo Cricket 12 x 12 Upcycle in "re:love"
  • Cosmo Cricket 12 x 12 Upcycle in "re:peat"

Multiple entries are allowed.

Monday, March 7, 2011

Glubers Are Here!


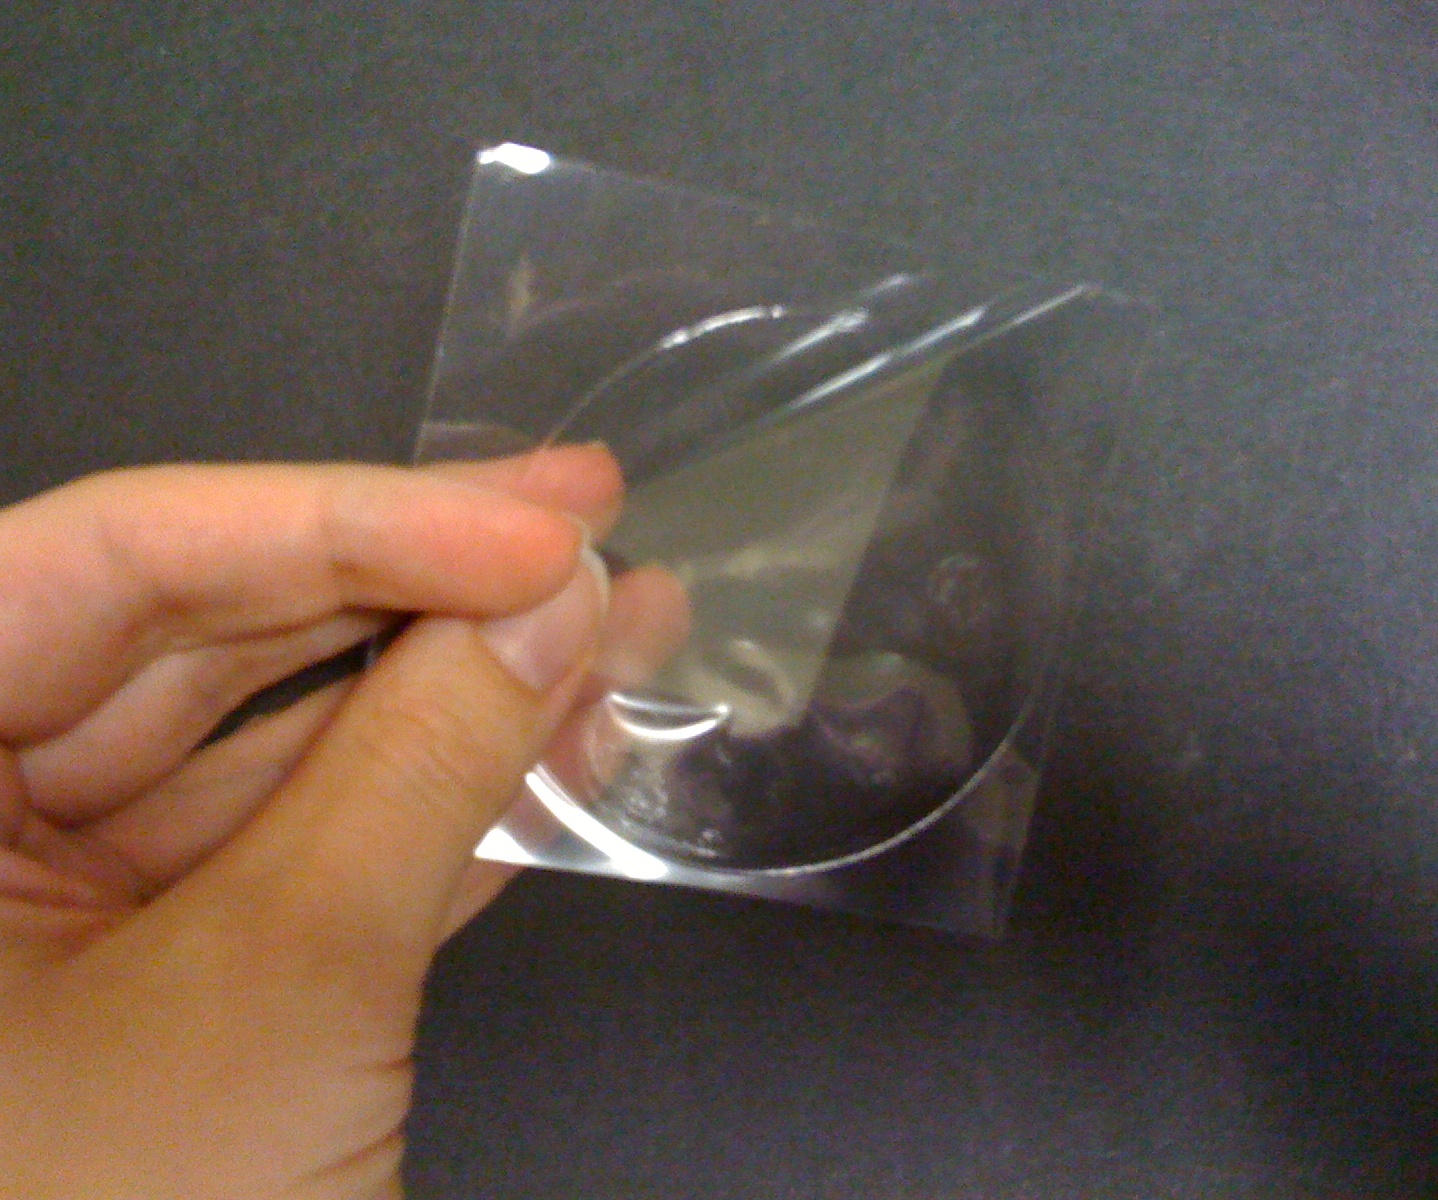
I have been so excited about this new product from Cosmo Cricket ever since we saw it in action at CHA. Now it has finally arrived and I'm completely addicted. Introducing Glubers! They are basically a giant glue dot that allows you to create your own floral embellishments with minimal time and effort. It is really easy to get started. Just pick out the size of Gluber you want (they come in 2", 2.5" or 3" diameter:


Then pick out your material. You will need it to be in strips and you generally use about a yard of length per embellishment, but that can vary depending on how ruffled you make it. You just need a yard in total length, it does not need to be continuous. I'm going to use some satin ribbon in my favorite color tangerine:


The Gluber has clear backing on both sides of the adhesive. Peel off one side of the backing and place your Gluber sticky-side up on your work surface:


Start with one end of your ribbon (or other material) and stick it to the outside edge like so:


Then just create a ruffle or pleat and stick the next part of your ribbon on the outer edge of the Gluber like so:


Continue this process around the whole outer edge, then move in toward the center a little more on the next go around:


Continue this process until you get close to the center. Leave the very center of the Gluber's adhesive exposed about like this:


You can now attach a center piece to your flower. I'm going to use a large rhinestone gem, but you could also do a diecut, button, or other embellishment...


Or, you could just continue your ruffles all the way to the center like I did here with my felt flower:


Once you have your flower complete, just peel off the back piece of plastic and you can stick it to anything.


In addition to flowers, these are great tools for making bows and decorations for gift packaging or even hair accessories like these.


Check out the Cosmo Cricket Blog for even more great ideas for Glubers!


What other fun things can you come up with?

Happy Glubering!

Amanda

Tuesday, February 1, 2011

CHA Show in Review

I was lucky enough to attend the Craft & Hobby Association's Winter show in L.A. these last few days and O - M - G: so much stuff to see!!

We really did see some great, amazing new product; a TON of super cute new scrapbook lines; some innovative new stamps and embellishments; ideas for new tools and cardmaking; craft kits; the list goes on.

In this blog I want to include just a smattering of what we saw (which is still a lot!). I do not have pictures of any of the scrapbooking lines because there were just too many to choose from and I wanted to share pictures that showed off some of the great vendor displays. But if you get the chance, check out websites for Cosmo Cricket (Social Club collection), My Minds Eye (Lush Collection), and Pink Paislee (Hometown Summer) for a look at my favs.

The show definitely ranged from the outlandish and gorgeous displays (dresses above) to the simple and innovative ideas. By the way, they said the dresses above were made with the help of a curling iron. . .an idea to try!

One of the first booths we saw, Canvas Corp, had some great basics including chalkboard surfaced tags and place cards, cork you can cut (w/ adhesive backing), and tiny bags. Simple, but great ideas! And check out the packaging in their little cork rounds (left): adorable!

Speaking of adorable, the new Martha Stewart lines are just that (above). Their new punches and especially their embellishments are very springlike. The collage above is a very small peek of what's to come. Luv the cake! EK Success also had a great punch that you can use, then weave ribbon (right) into your project. . .awesome!

In addition to some favorites, there were also quite a few new companies showing some innovative product. We really loved the creativity behind a stamp maker out of Germany called La Blanche. Their display was like walking into the pages of Alice in Wonderland. Their product had a certain sense of whimsy mixed with the cerebral. It will be interesting to see how this company evolves. This smartly dressed rabbit (right) visited their guests. They also had a display that I previously posted on Facebook.

Another new company (at least new to us) was Hot Off the Press out of Oregon. They had an innovative paper called Color Me Paper that had a raised design that allows artists to ink the background, wipe off the color, leaving the raised design in the color. They also had some great templates and paper jewelry kits that I hope to carry someday soon (no pics, sorry).

Kan Ban was another new company out of England that had some interesting, high quality card kits and some pretty papers. I loved the coffee card kit and the butterfly paper, pictured above.

Two companies that we have always loved: Hambly and Stampedous did a great job of showing how traditional papercrafting techniques can be applied to home interiors. Stampendous smartly embossed these vases and Hambly used their papers to jazz up lamps from IKEA. We had previously blogged about this idea, but it never gets old and it's so easy! And, yes, they had the infamous washy tape. And, yes, I saw how awesome it was. But, no, they weren't giving out any samples. :( But it ships in March and we'll be one of the first to have it!

And speaking of favorites, I hope you saw the amazing quilling I posted on Facebook. The quilled image to the right was also on display in the Quilled Creations booth. It's hard to see in the photo, but the petals are quilled too! They have some neat tools to assist in projects like this that I hope to carry soon, along with some impressive quilled jewelry kits. They are really, really neat! In addition to the necklaces pictured here, they have kits for tiny quilled roses that are very pretty too.

We also saw a lot of great craft kits, especially for kids. They are coming out with a line of American Girl craft kits which has something for the child and a match for the doll, like this set of felt teddy bears. Too cute!!

There were some also really neat ideas for basics like this Create a Card spinner. It's a collection of simple mix and match designs that makes cardmaking accessible to all skill levels. I really liked the design and colors in this concept.

One of the "ah ha" products that we saw was something called a Gluber that is being developed by Cosmo Cricket. This is essentially a giant glue dot but it's so genius we had ourselves asking what has taken so long to get something like this. It will be sold separately and in kits designed by Julie Comstock (who we met and she's great!). There's many uses of the Gluber but the most obvious is making quick and simple paper or fabric flowers. We made one in less than a minute and it was fabulously cute. This last picture shows a form covered with the rosettes that were made with the kits. Luv it!!

I know this is a lot of photos crammed into a small amount of space. And they were taken from my phone and are not the highest quality. But hopefully you see the fun and innovation that is coming our way and you are as excited as me to see it. Thanks to all the vendors for showcasing such great stuff! --Kim