Showing posts with label origami. Show all posts

Wednesday, December 7, 2011

Day 7: Origami Star Ornament


Materials:

- (5) 4” Squares of Origami or Double-sided Scrapbook paper

- (2) 2 1/8” Squares for Covers

- (1) 18” Length of Thin Ribbon

- Double Stick Tape


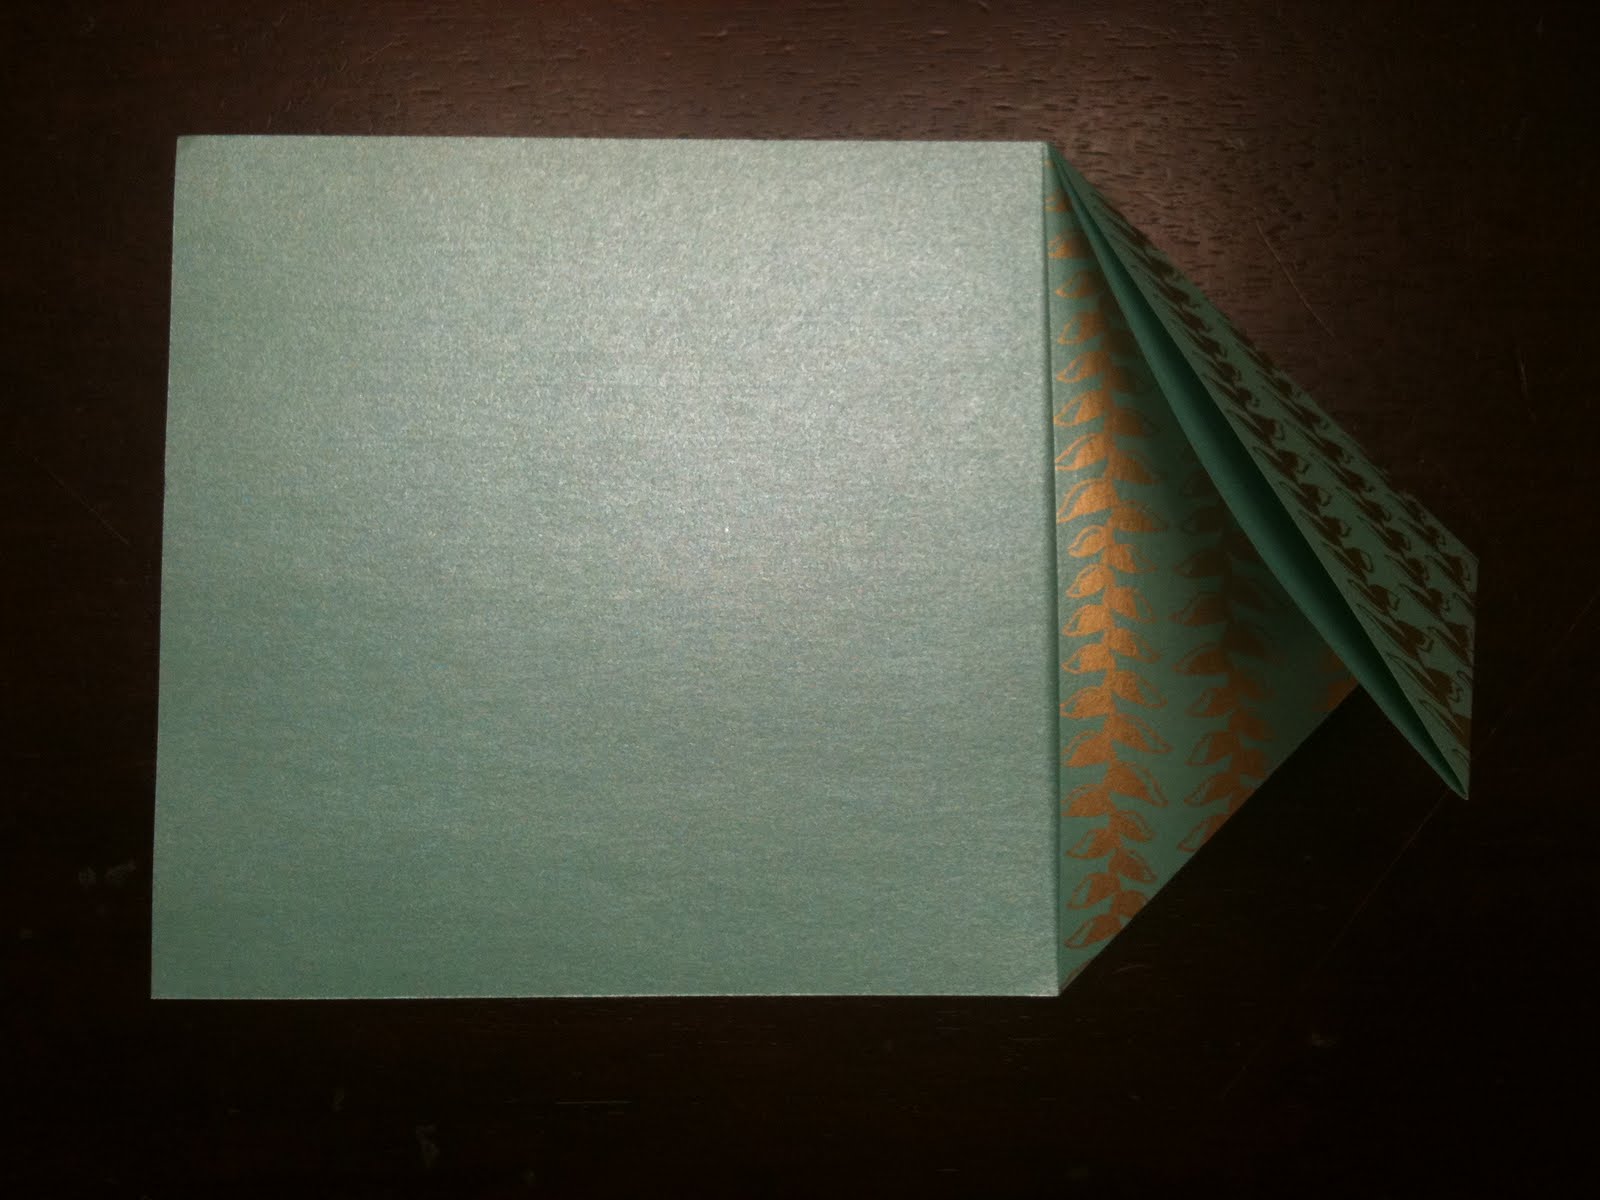
  1. Fold 4” square horizontally & vertically.
  1. Fold diagonally twice.
  1. Open up the square & you will have two diagonally folds, one vertical & one horizontal fold.
  1. Fold into a triangle.
  1. Fold the outer ends of the triangle inside towards the center. You will end up with a square.
  1. Using double stick tape, attach the five squares. Keep each end free.
  1. Fold the ribbon in half. Place double stick tape on each diagonal. Keep the looped end of the ribbon on the closed part of the square & the open length on the open end of the ornament.
Have fun!

- Tukwila Paper Zone

Sunday, December 4, 2011

Day 4: Origami Letterhead Cards


Materials you'll need:

- 8.5" x 11" Paper -- This is a great way to use up extra holiday letterhead!

- Insert card -- Ours is 4" x 5 3/4", once you have this technique down, you can play with different sized inserts and make the card any size you want!

Step 1:

Fold it in half lengthwise and give it a little pinch on one end to mark the middle Fold the corners in to the middle, so the sheet comes to a point at the top.


Step 2:

Fold one of the opposite corners in so it's edge is against the folds you just made.


Step 3:

Fold the last unfolded edge in half, so it should line up with the last side you folded in. You can keep it there, or fold it backwards to expose a strip of blank paper (that's what we did, so there is space to write a name).


Step 4:

Line up your insert card along the square end, so you know where to fold next. You'll be folding the pointed end of your sheet backwards, along the edge of the insert card. Now you should have a rectangle with a little point at the back edge.


Step 5:

Fold this point over the top of the card and tuck it into the fold at the front of the card. Insert your card into the pocket you've just created and you're good to go!


Happy Holidays!

-Portland Paper Zone

Monday, September 26, 2011

Folded Leaf Card

In lieu of the brand new origami line we brought into all eight of our stores last week, I wanted to share with you a quick and easy way to make a unique card using paper folding techniques. All you need is paper, a little adhesive, and good paper-folding fingers.

You can use any size rectangle, but I used a 12"X12" piece of thin scrapbook paper and cut it in half to 6"X12". To make the first fold, take the bottom right corner and fold up.

Next, fold the top right corner down.

After that, unfold it. You should see an X shaped crease on the right half of your paper.

Flip the paper over and accordion fold the top right corner down to the center of the X.

Keeping the accordion together, fold the bottom right corner up along the first crease you made.

The leaf should reveal itself as you flatten it out.

Next, using some double sided adhesive, glue down this flap so the leaf stays in place.

After that, fold the leaf flap down. This will create the top third of your card.

Then fold up the rest of your paper to finish the tri-fold card.

Voila! Your card is done. All you need to do is write your message, put in an envelope, and mail!

You can add variety to your collection of leaf cards by using many different kinds of sizes and patterns. I used the new blue line of 7" Chiyogami to create a tiny card as seen above.

Happy Crafting!
-Malyse

Friday, December 24, 2010

11th Day of Christmas - Origami Gift Card Holder

Now that Christmas is almost here, the only gifts left that I will be buying are gift cards. They are quick, easy, and almost everyone enjoys receiving them. To be more creative, I make an origami gift card holder for the card. This card holder is created out of a sheet of regular 8.5x11 paper.

I will also be enjoying my favorite holiday drink while making my gift card holders, a hot buttered rum! I have a great recipe that I use to make these. You can even make this in a non-alcoholic version just by substituting the rum and hot water for some hot apple cider.

Hot Buttered Rum or Cider batter.

1 cup of butter softened
1 quart of vanilla ice cream softened
2 cups of light brown sugar

Using a mixer, cream the butter and sugar. Mix in the softened ice cream until well blended. Store this mixture in an air-tight container in the freezer.

Hot Buttered Rum

1-2 TBSP batter
2 oz rum
Hot water
Cinnamon

Place the batter in a mug and add the rum. Fill the mug with hot water and stir. Garnish with cinnamon.

Hot Buttered Cider

1-2 TBSP batter
Hot Cider
Cinnamon

Place the batter in a mug. Fill the mug with hot cider and stir. Garnish with cinnamon.

Gift Card holder


1. Start with and 8.5x11 sheet of paper.


2. Fold in one bottom corner to create a triangle. Crease.


3. Unfold the triangle.


4. Fold the other side in to create an opposite triangle. Crease. Open the paper.


Hint: When you unfold the paper, there is an "X" in the middle of your paper.


5. Fold the paper up from the bottom, so your fold runs across the middle of the "X". Crease.

Hint: There will be a 3.5 inch section of paper at the top extending up.


6 Using the existing fold lines on the right side, fold in the paper into the middle creating a triangle. Press down.


7. Repeat on the left side.


Your paper should now look like this.


8. Fold down each corner of the triangle to the bottom point. Crease each side.


Hint: This will create a diamond shape. Both flaps will be able to open in the middle.


9. Put your fingers inside the right flap that is created with the downward fold. Open the fold side to side.


Hint: This will now create a square.


10. Crease the paper down and repeat on the left side.


Now your paper should look like this.


11. Fold down the right corner of the square. Crease. Repeat on the left side.


12. You are left with a triangle that points up in the middle. Fold this down and crease.


Hint: There is a pocket that is starting to form.


13. Fold the bottom point up and crease.


14. Tuck the point inside the pocket.


Now your pocket is created.


15. Place your gift card inside the pocket and fold the right flap over. Crease. Repeat on the left side.


16. Fold down the right and left corners to create a point at the top.


17. Fold the point down, crease, and insert into the bottom pocket.


Happy Holidays and Happy Crafting

Sandra


Wednesday, October 27, 2010

Wrap Your Gifts with Origami Boxes


As we approach the gift-giving season, it's always nice to have some new fun ways to wrap up all of those packages. The tower of packages above was created using an age old origami technique and brand new paper from the Making Memories Paper Reverie line. These boxes not only turn out absolutely gorgeous, but they are so simple to do...even for the origami novice. Here are the simple steps you will need to follow:

Step 1: Begin with a square piece of paper. The patterned side (the side you want on the outside of the box) should be facing down as shown.


Fold the paper in half and unfold.


Step 2: Turn the paper 90 degrees and fold in half again and unfold.


Where the folds cross is the center of the paper and will be used as your guide for the steps to follow.

Step 3: Fold each corner in so that it meets the center.


Step 4: Turn your paper 45 degrees. Fold the edge of the paper closest to you up so that it meets the center point of your paper.


Step 5: Turn the paper around and fold the other side to meet the center as well.


Step 6: Unfold the folds you made in steps 4 and 5.


Step 7: Turn the paper 90 degrees repeat steps 4 and 5 but on the sides that have not yet been folded.


Step 8: Unfold the folds you made in Step 7.


You have completed all of the folding that will be required. Now we will put the box together.

Step 9: Unfold the top and bottom corners.


Step 10: While holding up the still-folded sides, pinch in the corners (as shown below where my index fingers are) and bring up the back corner and fold down into the interior of the box.


Repeat on the other side:


You now have the bottom of your box!


To create the box lid, repeat steps 1-3.

In steps 4-7 you will still fold the edges in, but fold them so that they are about 1/8" to 1/4" (depending on the size of paper you start with) shy of the center point as shown below.


Continue with steps 8-10 as shown above and you will have created your box lid. This lid should fit together nicely with the box bottom you have created.


Using a 6"x6" piece of paper, your box will be about this size:


Using a 12"x12" piece of paper, your box will be quite a bit larger, like this:


This simple box is sure to impress anyone on your gift-giving list and there are tons of great papers to choose from, so the options are endless!
I want to send out a special thank you to our teacher, Vicky Mihara Avery from Mountain Valley Paper, who was kind enough to visit this past week and give us a tutorial on this and other great gift wrapping ideas. Thanks Vicky!

Happy Crafting Everyone!

Amanda