Showing posts with label rhinestone. Show all posts

Thursday, November 17, 2011

Simple Scallop Christmas Tree Card

Supplies you'll need:

1 sheet Astrobrights Celestial Blue cardstock

1 sheet Esse Texture Verde cardstock

1 sheet white cardstock

scrap of Green Grocer cardstock or any kraft-colored cardstock

Colorbax Frost White Pigment ink pad

Kaisercraft round red rhinestones

Kaisercraft blue flower rihinestones

scissors

Fiskars cloud edging scissors

Aleene's tacky glue

Cut two 1/2" x 8 1/2" strips from the green cardstock. Scallop the whole length of both pieces with the scissors.

Cut the strips apart into 6 separate pieces for each layer of branches. Snip the ends of the pieces at an angle as in the photo for a more "branchy" look. The bottom layer will be 6 scallops long, then 5 for the next, then 4, 3, 2, etc. until there's just one tiny scallop for the top layer.

Rub just the scalloped edge of each branch section against the white ink pad surface to give it a "snowy" look. Let them dry completely.

Cut a 1/2" square from the brown bag paper. This will be the tree trunk.

Cut 5" x 1 3/8" piece from the white cardstock. Scallop the long edge. This will be the snow.

Trim the blue cardstock to 7" x 10" and score down the middle so the card will fold to 5"x7". The Score-It-All board sold at Paper Zone makes this part very easy.

Glue everything in place with the tacky glue onto the front of the card referring to the photo for guidance on the finished result. Attach a flower rhinestone for the "star" on top of the tree and round red rhinestones for the "ornaments" on the tree branches.

Happy Card-making!

The Beaverton Team

Wednesday, October 26, 2011

Happy Halloween!

It's that time of year again for yummy Halloween treats! What better way to give your treats than in festive handmade packaging! This is a simple and easy way to present a gift. For this project you will need the following items:


Tag punch, Happy Halloween stamp, cello treat bags, 1/4" hole punch, black and orange rhinestones, black ribbon, black ink pad, and orange cardstock.


First, start by punching out your tag shape from the orange cardstock. Then, punch a ribbon hole at the top of the tag.


Next, stamp 'Happy Halloween' diagonally on the tag. I also inked around the edges of the tag to give a distressed look.


Now it's time to embellish! Place a few of the orange and black rhinestones in the bottom right corner of your tag in a cluster.


Now, place your treats inside one of your cello bags. I used homemade white chocolate and coconut cookies, but you could use Halloween candy, a candied apple, or anything else festive! Then using the black American Crafts sheer ribbon, tie the tag around the top of your treat bag.


....and voila! Your festive Halloween treat gift is finished!


Happy Halloween and Happy Crafting!


-Malyse

Monday, February 7, 2011

Pails of Hearts & Kisses

Valentine's Day is officially one week away! We've tried our best to inspire you with tons of fun and crafty Valentine ideas so you are prepped for the day ahead. We've showed you tips on how to create adorable Valentine cards with tiny envelopes, showed you the ins and outs of creating your own embellishments with Fimo Dough, made pink paper pinwheel toppers, and taught you how to make your own paper flower bouquet. This past weekend, I made these fun little Valentine gifts for my friends - and so far - they've been a hit with everyone, so I figured I'd share the idea with all of you!


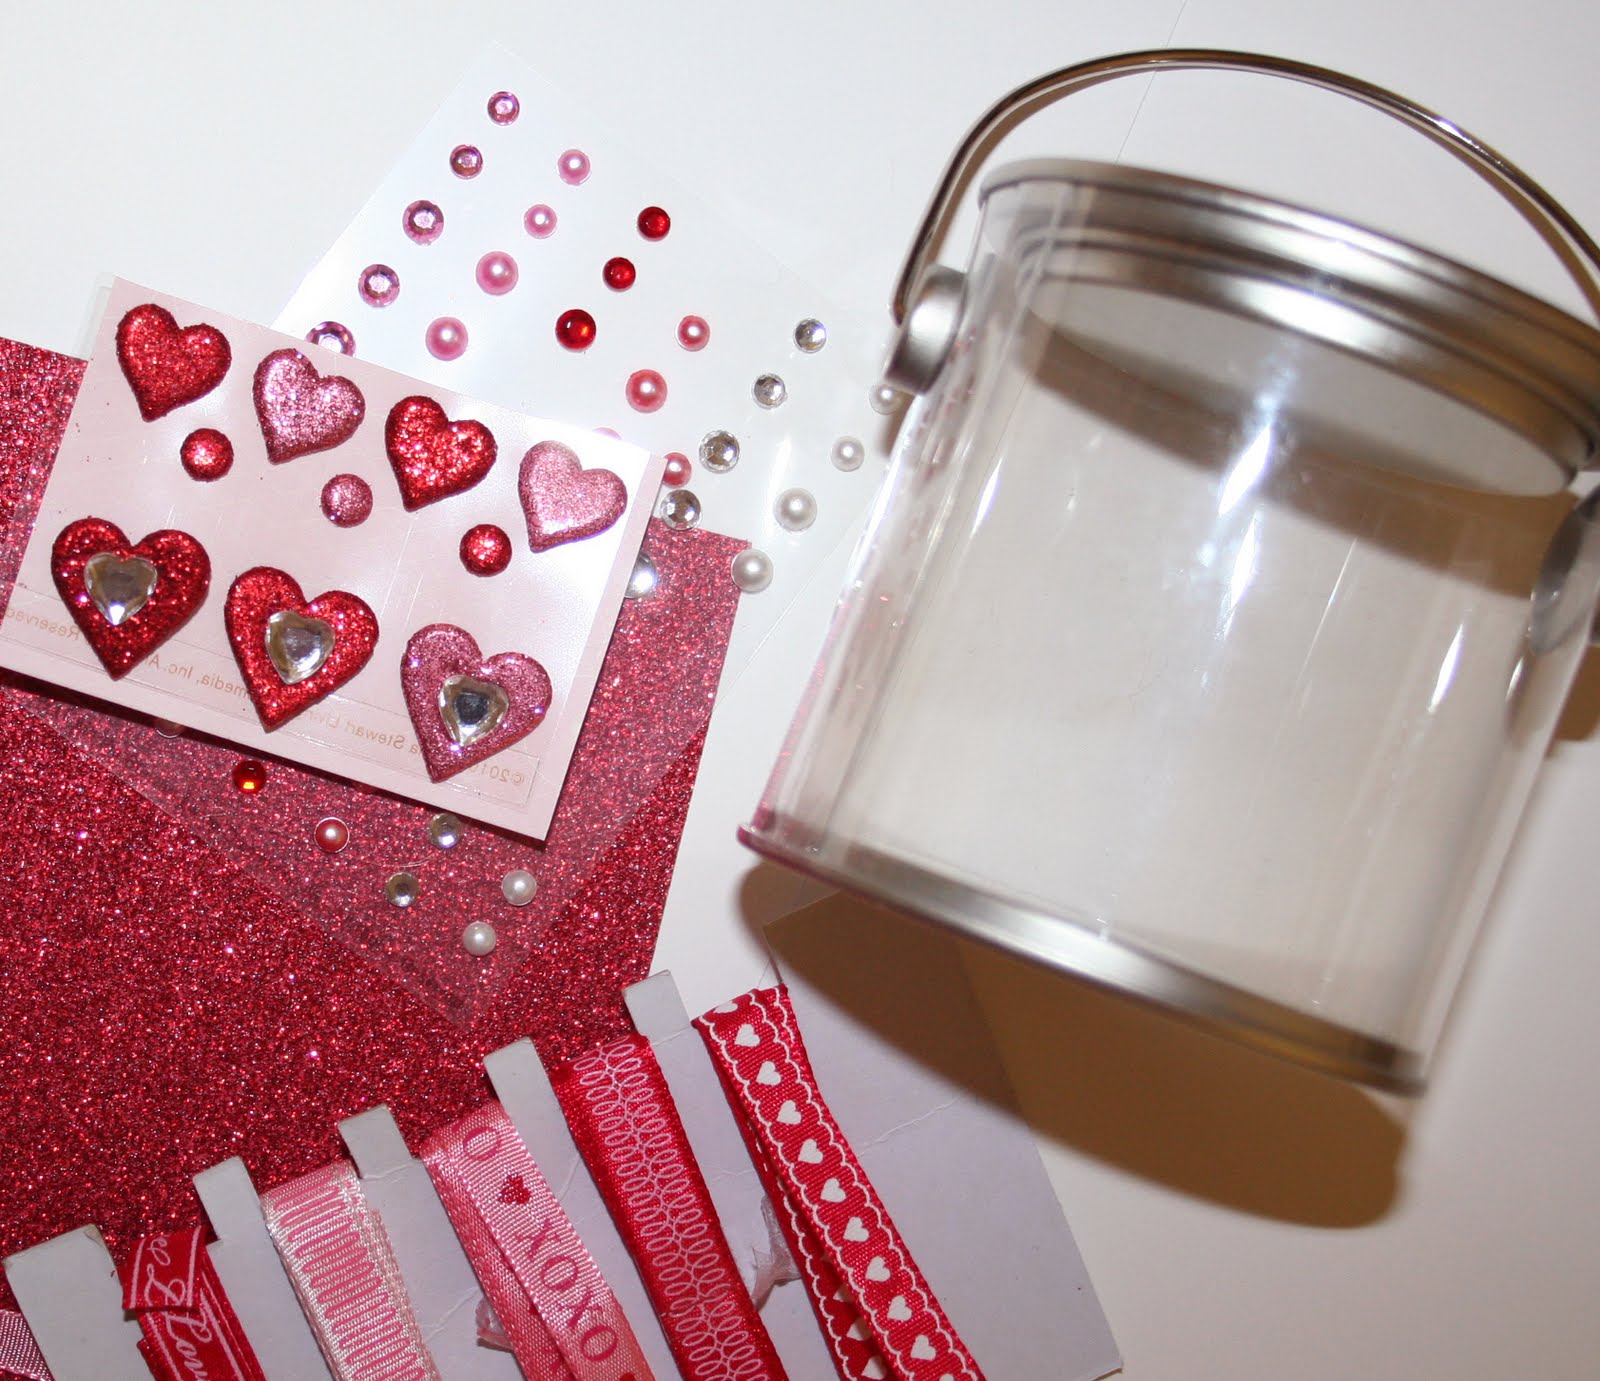
I've been eyeing these clear pails for awhile and love the idea of filling them with little Valentine treats and goodies. We showed them a while back filled with cookies (also a great Valentine's Day idea), but I kept it simple by buying little heart shaped chocolates and kisses to fill mine. To decorate my tin, I gathered some of my favorite things ~ rhinestone and pearl embellishments, red glitter paper and some oh-so cute Martha Stewart Valentine ribbon.


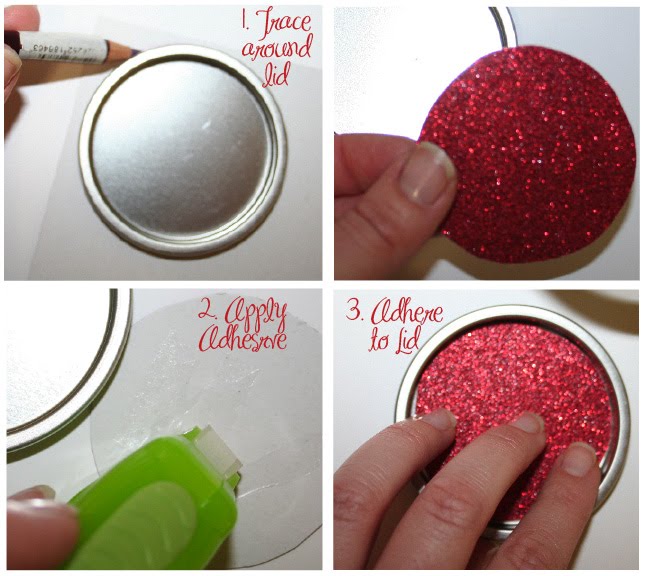
Step 1. Decorate the lid with the glitter paper, simply trace around the lid, cut out your circle and adhere to the top.


Step 2. Wrap a ribbon around the tin (put adhesive on the ends of the ribbon to attach). I placed little rhinestones and pearls on the ribbon, they come with adhesive on the back so this part is super quick and easy.


Step 3. For the handle decor, I cut a bunch of 2" pieces of ribbon and just tied them on, varying the colors. I filled it with yummy chocolate hearts and kisses, and put a cute little Valentine gift tag on the handle.

There you have it, a sweet little homemade gift to give to your special Valentine{s}. And, trust me, people adore getting these - I already started giving these to my friends and they just love them.

♥ Happy {early} Valentine's Day! ♥ --Lauren