
One project that I have been wanting to try for years is making my own rubber stamp and I finally got to try it out! Paper Zone has everything you need to get started; Speedball's cutting tool and rubber block.
 The first step in creating your rubber stamp is to draw out the image with a pencil and paper.

Then you can transfer the image to the rubber block by simple placing the paper on top of the rubber block and gently rubbing.

Next I went over the pencil transfer with a pen so the image could be more easily seen.

Next using the cutting tool, start cutting away the rubber so that only the image you want remains.

Then it's the moment of truth! Test out your new stamp to see how you did!

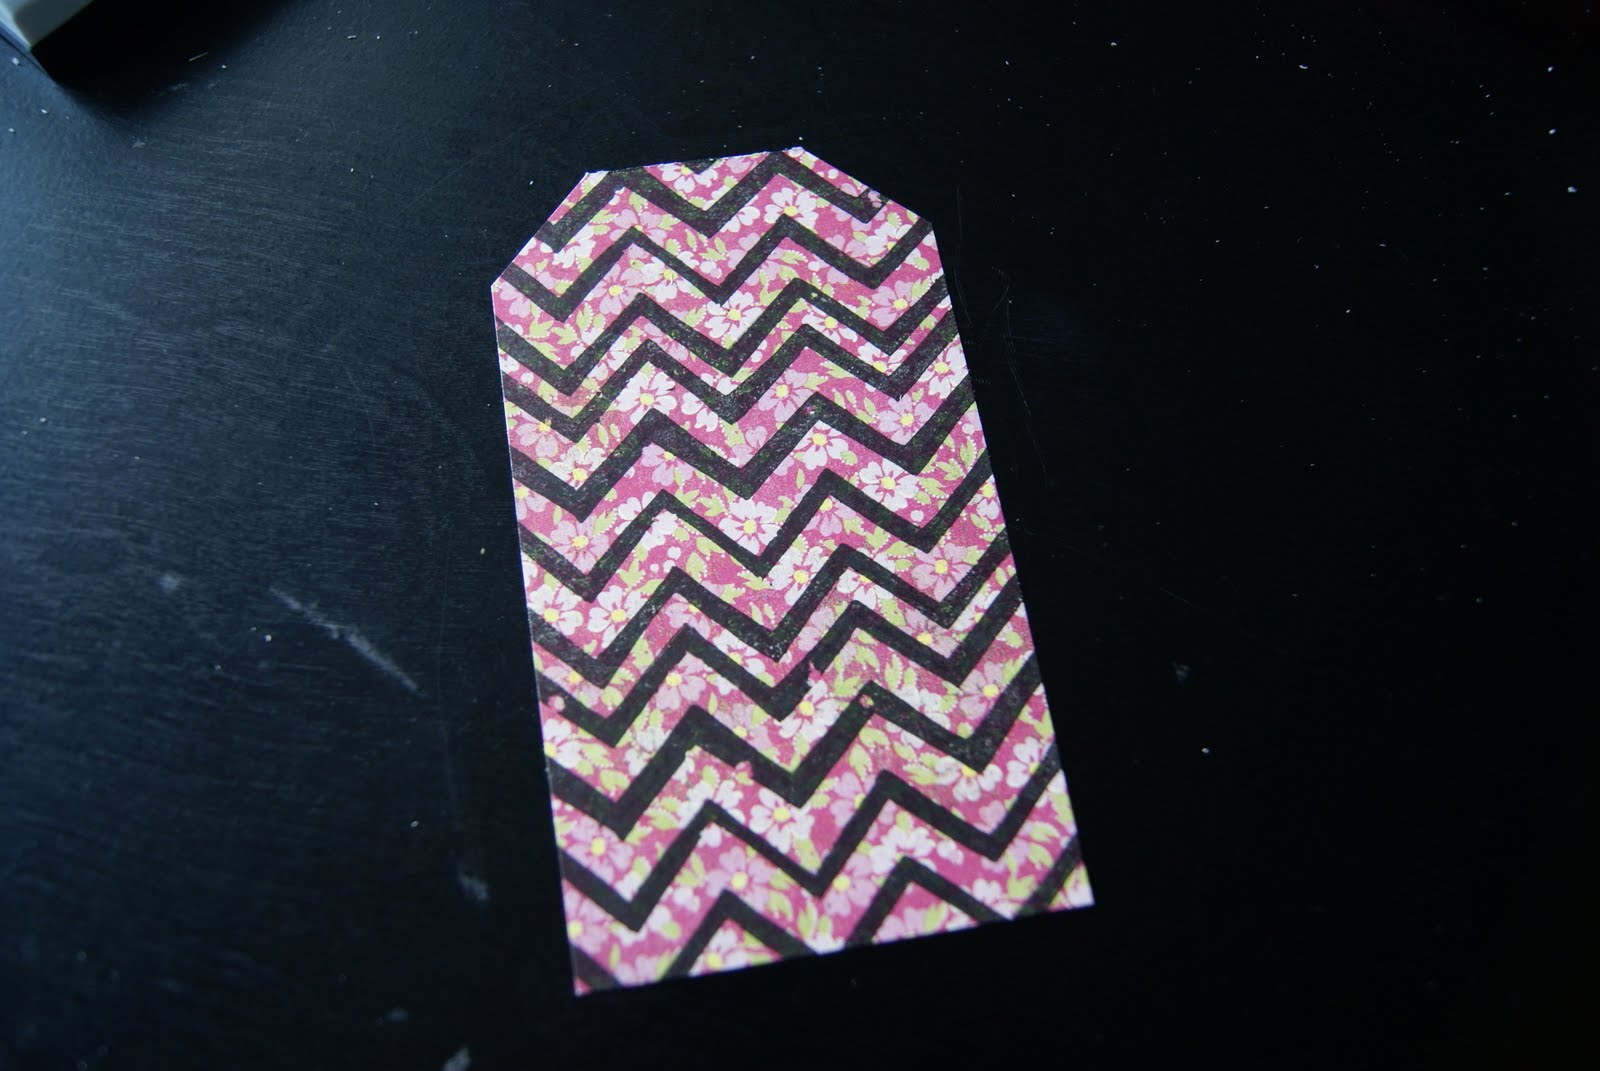
I wanted to cover the paper with the zig-zag pattern of my stamp, so I simply stamped it a few times on my paper.

Then, I wanted to make a tag out of the paper, so I simply cut the paper into a tag shape.
Gathered a few supplies.

And created a simple tag.
 This was so much fun, I can not believe I waited so long to give it a try! If you are a stamper or simply love anything handmade I would recommend this project!
Happy Stamping,
Christina
I want to give a special thank you to Christi in our Seattle store for inspiring me. She made the most amazing stamps, if you are in Seattle, you must visit the store to see them!
What an awesome card, these are lovely so thank you for sharing this with us.
ReplyDelete