Friday, December 31, 2010

Weddings for Beginners: Color Inspiration

After I recently got engaged I found myself looking down at my ring and thinking “now what?” So, I did the one thing I knew to do: I went to Paper Zone.

I have determined that aside from picking a date and place for my wedding, the next crucial step was picking colors. And who has more colors than PZ?

Knowing that we are planning an oceanside wedding, I was immediately drawn to the Aquamarine paper in the Envelopments line (below). Then there was the bronze, the pearl latte, the pearl linen, the So Silk, I could go on.

I absolutely knew I wanted handmade invitations (like the PZ sample above) because I want our wedding invitation say, “this is an important event and it is meaningful to us that you attend” and, to me, the best way of saying that is with a beautiful handmade invitation.

And thankfully, places like Paper Zone make that a doable task. In addition to numerous sample boards, we have this great checklist so you can plan all of your stationary needs at once for a cohesive presentation rather than thinking “oh yeah, I need programs too”.

There are many routes you can take with handmade invites: you can make them yourself start to finish; you can design them & then work with a professional printer; or you can work with a designer. And while we offer easy-to-follow templates and creative and helpful Associates, I opted to work with a designer (special shout out to Jennifer Witsil Creative).

My fist full of papers lead me to inspiration boards like the one to the left (I Googled "chocolate aqua wedding" and searched images) giving me ideas on other aspects of my wedding such as flowers, the cake, etc.

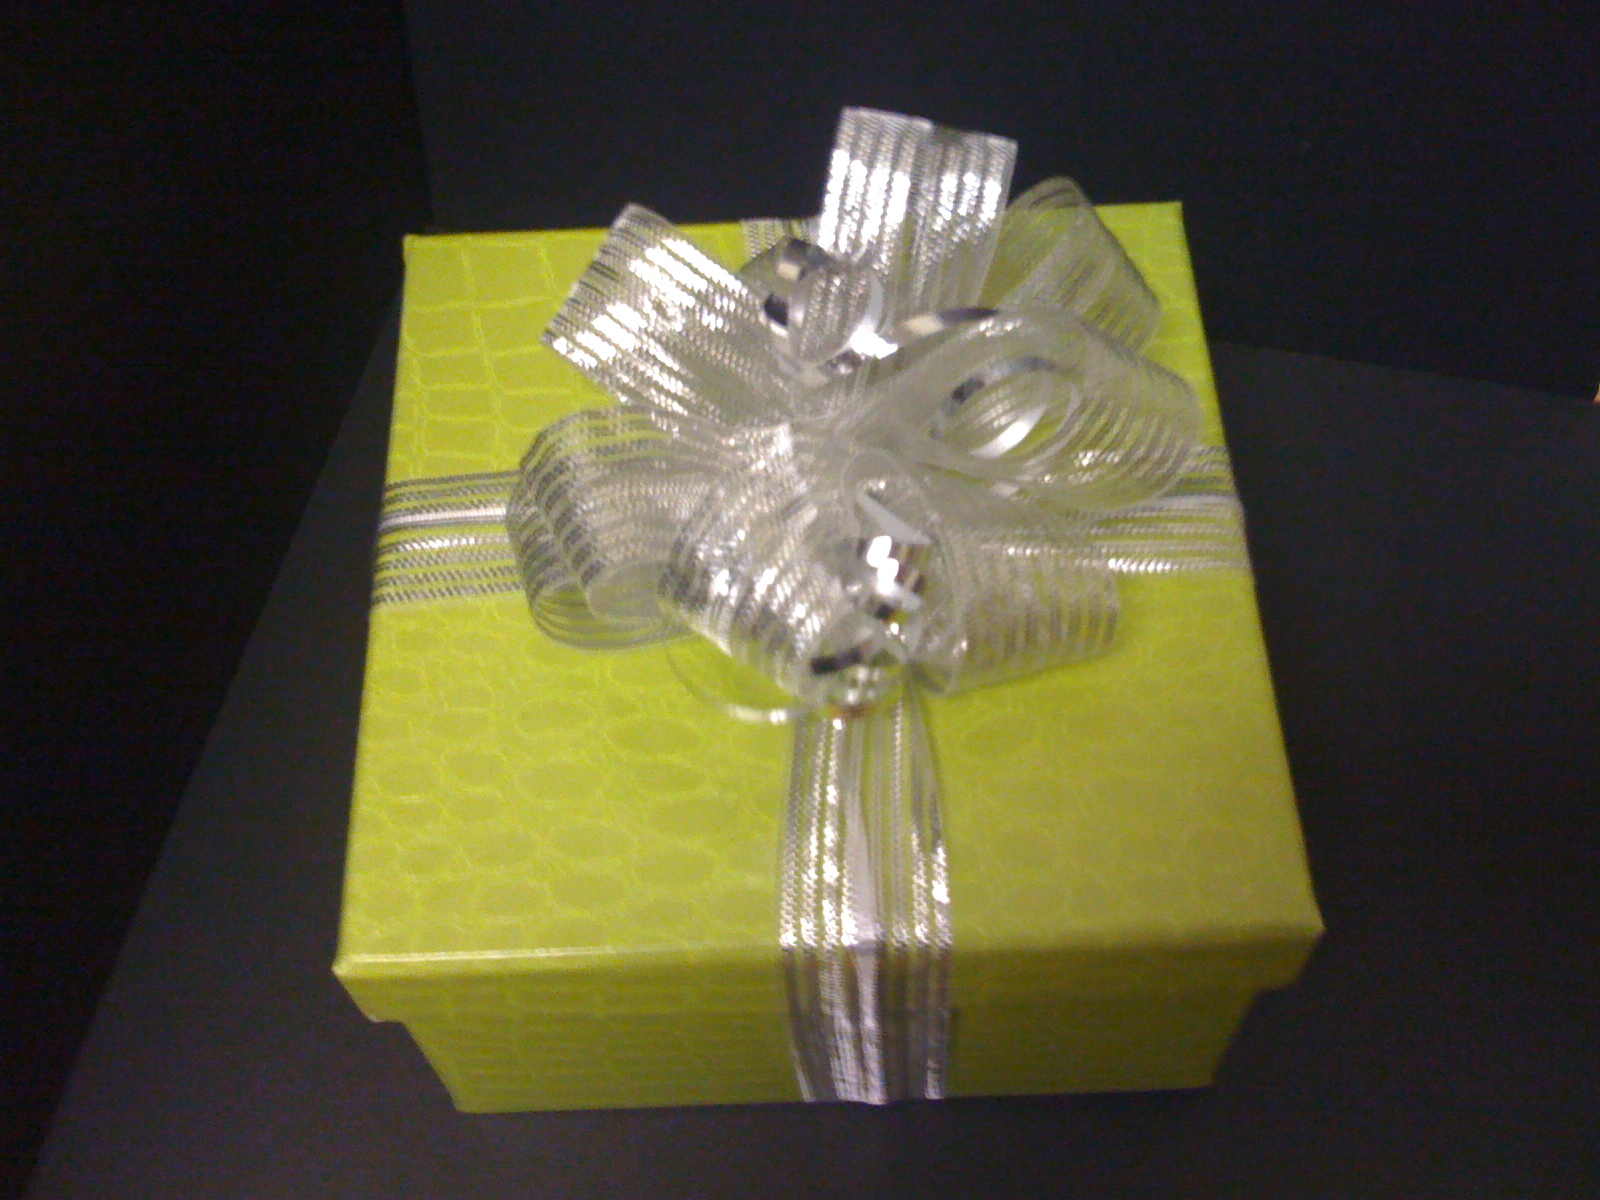
And, of course, out of the beautiful papers came a beautiful Save the Date:

Starting the wedding planning process can be intimidating, but start with a checklist and some inspiration and you’ll gradually move in the right direction. I really encourage any bride-to-be to stop by Paper Zone to browse. Photos cannot relay the pearl-like colors and satiny textures and papers that look like linen. . .oh it’s magical!

To see some of this magic, visit us at the Seattle Wedding Show January 8th & 9th. We’ll have some great papers and ideas on display (maybe even my invites too!). I hope to see you there. --Kim

Wednesday, December 29, 2010

Ciao Birdie!

Working at Paper Zone, I am surrounded by a cadre of seriously creative and talented people. It is truly amazing and inspiring to see the beautiful, detailed, and useful things the people here at our office and our nine stores come up with on a regular basis. To be sure, one just has to peruse the PZ blog to get an idea of the level of the artistic/crafty spirit that runs through the company!

So inspired are our staff that some of them have taken to creating their own blogs or starting their own product lines. One such person, that I'd very much like to introduce you all to is Barb Burwell. Barb is an associate at our Portland store (5 years and counting!) and has created the most lovely, whimsical line of cards, journals, and magnets called Ciao Birdie Designs. Barb has a Fine Arts degree and background in ceramics and jewelry making. When I asked Barb how she came to work in her current mediums of paper, paint, graphite, ink, fabric and ephemera in a collage format and create an entire line of products, she said that it all started with a Christmas card she created a couple of years ago over which she got a lot of applause. From this card, Barb expanded into other cards, journals, and magnets, opened an Etsy shop, and introduced her line to us here at the office, which we immediately picked up. Amazing how great things can come from small beginnings, no?!

Asked what inspires her, Barb responded that it's the little details in life, her garden, her collection of heart-shaped rocks, and, of course birds, with which she has had a fascination since childhood, that give her pause and inspire her make her pieces.


I just love the reflective, sweet, and nostalgic nature of Barb's pieces and I am excited that we are carrying her line in the stores. As we begin to move past the hustle and bustle of the holidays and into the quiet of the just-beginnings of a brand new year, I am eager to sit in a corner with one of Barb's journals to work out my dreams and ruminations or write a card to a faraway friend.


I am also envisioning posting my to do and wish lists on my fridge with a few of her pretty magnets.

Ciao Birdie Designs are sold at all nine Paper Zone stores, so come on into one of our stores and check them out. You can also hear more from Barb at her blog at ciaobirdie.wordpress.com. Best wishes for happy and inspired days ahead! Tiffany


Monday, December 27, 2010

Party Supplies in Seattle!

With the big holidays behind us, I always get lulled into this false sense that all the hard work is over. Not the case. Now it's time to start planning all of the other parties coming up: New Year's, Super Bowl, Valentine's, Birthdays, Baby Showers, Bridal Showers... the list goes on and on! Fortunately, we just started carrying party ware in all the colors of the rainbow at our Seattle store.


There are plates, napkins, cups, table covers and utensils in 16 different colors that tie into whatever theme I have going on. There are also some great accent pieces to add a little extra excitement. I personally like the Early Bird and Eden collections the best,


but I think I'll start out with Black and Silver for New Year's!

For now, the solid colors are all only available in Seattle (SODO), but hopefully will be moving into all stores in the near future.

Happy New Year Everyone!
Amanda

Friday, December 24, 2010

12th Day of Christmas - Best Of


Merry Christmas Everyone! I hope you enjoyed our "12 days of Christmas" blogging as much as we enjoyed sharing our projects and ideas. There were so many creative posts, I decided to share the Top 10 since the start of the holiday season, based upon pageviews and number of comments. So, starting with number ten, counting down to our most popular post. . .

10. Tissue Puff Balls - Great for any special event, our tissue puff balls or "pom poms" have always been a big hit. The candy cane tissue made a nice holiday touch (thanks Portland PZ!).

9. Paper Ball Ornament - Christina's candy cane inspired creation set the bar high for inspired paper ornaments. Love these!

8. Waterfall Card - A-M-A-Z-I-N-G This is a must watch video displaying Sandra's unique cardmaking skills.

7. The Geoball Ornament - Since posting this ornament I've been told that it is a popular idea to make these out of recycled holiday cards. So don't throw out your cards this year and start your crafting now!

6. Amanda's Rum Ball Recipe - Who can resist easy baking that comes in an adorable package?

5. Holiday Crafters' Challenge Winner - Sarah's recipe book & stand was nothing short of creative genius. All I can say about this is wow, wow, wow!

4. Origami Gift Wrap - Jill in Bellevue used Amanda's tutorial to create this adorable stack of gifts. This packaging is almost as good as the gift!

3. Fimo Ornaments - Christina created some super adorable ornaments using Fimo clay. We all want a cup of that cocoa on our tree!!

2. Rat Ring - While I was posting about the delight of Christmas Crackers - the rat ring took center stage. I hope this post inspired some to start a tradition with Christmas Crackers because they are as fun as they look.

1. Snowflake Template - By far, our most popular post this season was the snowflake template/video. Over 1,400 people viewed the demo and snowflakes were abound everywhere I went. This idea shows how simple a project can be and that being creative doesn't require a lot of time, money or product. Simply fantastic!!

So, what do you think? Did your favorite project/post make the list? What was your favorite idea of the holiday?

Again, I hope you all enjoyed our posts. We try to inspire all year round so keep our blog bookmarked!!

Merry Christmas everyone. I hope you all are having a wonderful day!! --Kim

11th Day of Christmas - Origami Gift Card Holder

Now that Christmas is almost here, the only gifts left that I will be buying are gift cards. They are quick, easy, and almost everyone enjoys receiving them. To be more creative, I make an origami gift card holder for the card. This card holder is created out of a sheet of regular 8.5x11 paper.

I will also be enjoying my favorite holiday drink while making my gift card holders, a hot buttered rum! I have a great recipe that I use to make these. You can even make this in a non-alcoholic version just by substituting the rum and hot water for some hot apple cider.

Hot Buttered Rum or Cider batter.

1 cup of butter softened
1 quart of vanilla ice cream softened
2 cups of light brown sugar

Using a mixer, cream the butter and sugar. Mix in the softened ice cream until well blended. Store this mixture in an air-tight container in the freezer.

Hot Buttered Rum

1-2 TBSP batter
2 oz rum
Hot water
Cinnamon

Place the batter in a mug and add the rum. Fill the mug with hot water and stir. Garnish with cinnamon.

Hot Buttered Cider

1-2 TBSP batter
Hot Cider
Cinnamon

Place the batter in a mug. Fill the mug with hot cider and stir. Garnish with cinnamon.

Gift Card holder


1. Start with and 8.5x11 sheet of paper.


2. Fold in one bottom corner to create a triangle. Crease.


3. Unfold the triangle.


4. Fold the other side in to create an opposite triangle. Crease. Open the paper.


Hint: When you unfold the paper, there is an "X" in the middle of your paper.


5. Fold the paper up from the bottom, so your fold runs across the middle of the "X". Crease.

Hint: There will be a 3.5 inch section of paper at the top extending up.


6 Using the existing fold lines on the right side, fold in the paper into the middle creating a triangle. Press down.


7. Repeat on the left side.


Your paper should now look like this.


8. Fold down each corner of the triangle to the bottom point. Crease each side.


Hint: This will create a diamond shape. Both flaps will be able to open in the middle.


9. Put your fingers inside the right flap that is created with the downward fold. Open the fold side to side.


Hint: This will now create a square.


10. Crease the paper down and repeat on the left side.


Now your paper should look like this.


11. Fold down the right corner of the square. Crease. Repeat on the left side.


12. You are left with a triangle that points up in the middle. Fold this down and crease.


Hint: There is a pocket that is starting to form.


13. Fold the bottom point up and crease.


14. Tuck the point inside the pocket.


Now your pocket is created.


15. Place your gift card inside the pocket and fold the right flap over. Crease. Repeat on the left side.


16. Fold down the right and left corners to create a point at the top.


17. Fold the point down, crease, and insert into the bottom pocket.


Happy Holidays and Happy Crafting

Sandra


Thursday, December 23, 2010

10th day of Christmas - Pull Bow Ribbon

I have just discovered this fabulous new (well, new to me) ribbon that makes tying a bow on a package a snap-plus it turns out looking really professional! It's called "Pull Bow Ribbon." Basically it looks like your everyday decorative fabric ribbon but it has curling ribbon threaded through the center of it.


Just tie the ribbon on your package like you normally would and leave yourself 18-24" of extra ribbon at each end to work with.


Grasp the curling ribbon with one hand and pull down on the fabric ribbon with the other. You will be left with bare curling ribbon. Tie the ends of curling ribbon together to secure the bow and there you have it - a beautiful bow in seconds! This video show just how easy it is:


I curled the left over ends of curling ribbon and wove it in with the bow for an added little sparkle.


I just love these bows and they work with all types of packages. I hope you all enjoy it too!


Happy Holidays Everyone!

Amanda

Tuesday, December 21, 2010

9th Day of Christmas: Quilled Snowflakes

Warning, I am not a quiller. I have never watched a video on quilling, read a book on quilling, nor have I looked at any real instructions on how to quill. But I got so excited by the craft, I bought all of the supplies and my amateur status hasn't deterred me from trying different projects. Given that warning, you should know that if I can make this snowflake, anyone can. I mean ANYONE.

Supplies needed for this project are quilling paper, a circle board, a slotted quilling tool, glue, spray adhesive and quilling tweezers. For the glue, you'll want a nice, fine tipped adhesive that dries quickly and dries clear.

To create the snowflake pattern I designed, you'll need to make 6 large cat eyes, 6 small cat eyes, 12 small tight coils and 1 large tight coil. They actually call the "cat eye" shape a "marquise", but I like to coin my own phrases and they look like eyes to me, so there you go.

For the larger cat eyes, I used an 18 inch piece of quilling paper and the 1 inch circle. For the smaller eyes, I used a 10 inch piece of quilling paper and the 1/2 inch circle. For the small tight coils, I used 9 inch a piece of quilling paper and for the large tight coil I used one whole piece (18").

The following 40 second video demonstrates a standard quilled circle, the starting point for the cat eye shapes:

To create the cat eyes, you start with a quilled circle. And then pinch the ends. So easy! This 15 second video demonstrates shaping of the eyes:


Creating the tight coils is a snap: wind the paper on the slotted tool, carefully remove and glue.

Making the Snowflake: To assemble the snowflake take your 6 smaller cat eyes and organize them so that they can easily be glued together leaving only a small gap in the center. Apply a small amount of glue on the side of each tip, place the cat eyes in place and let dry.
Next, attach the larger eyes to the tips of each smaller eye. You will attach these by placing the small coiled pieces on either side of the tips and adding a big glob of glue in the middle. This is why you want clear glue. These pieces will take a little longer to dry.

Tip
: Keep checking your pieces while they dry to make sure they are not sticking to your work surface or you will have a beautiful snowflake adhered to your table. Working on a glossy surface like a magazine or wax paper helps.

Finally, add the large coiled piece to the center with a dollop of glue.

Lastly, you want to harden this baby up so that you can hang it on your tree, attach it to a wrapped package, or hang it from your dogs collar. This is accomplished with the spray adhesive.
When the snowflake is dry enough to move without falling apart, place it on a piece of wax paper. Take it outside and spray it like crazy. Bring it back inside and transfer it to a clean piece of wax paper. In the morning you'll have a nice, stiff snowflake, ready for hanging.

Phew, that was a long post! But really the snowflake takes less than 30 minutes to make including drying time before the spray adhesive. Let it snow, let it snow, let it snow! --Kim