Showing posts with label cardmaking. Show all posts

Monday, November 14, 2011

Christmas Tree Card


Hi Everyone

Even though I am still anticipating Thanksgiving and the yummy feast we will have, I have started creating my Christmas Cards. I tend to find multiple ideas and can never decide on the one I like best, so I end up making a few of each one. Here is one idea that I really liked. Using 1/2 of a circle of cardstock, you create a Christmas tree by scoring a few lines and then folding the cardstock on those scores.

Ingredients for this card:


5 inch circle of double sided cardstock - I used Crate Paper - Wintergreen
5.5x8.5 Cardstock for the base of the card
Circle Cutter
Adhesives
Embellishments

Step 1

Cut a 5 inch circle out of your cardstock and cut the circle in half.


Step 2


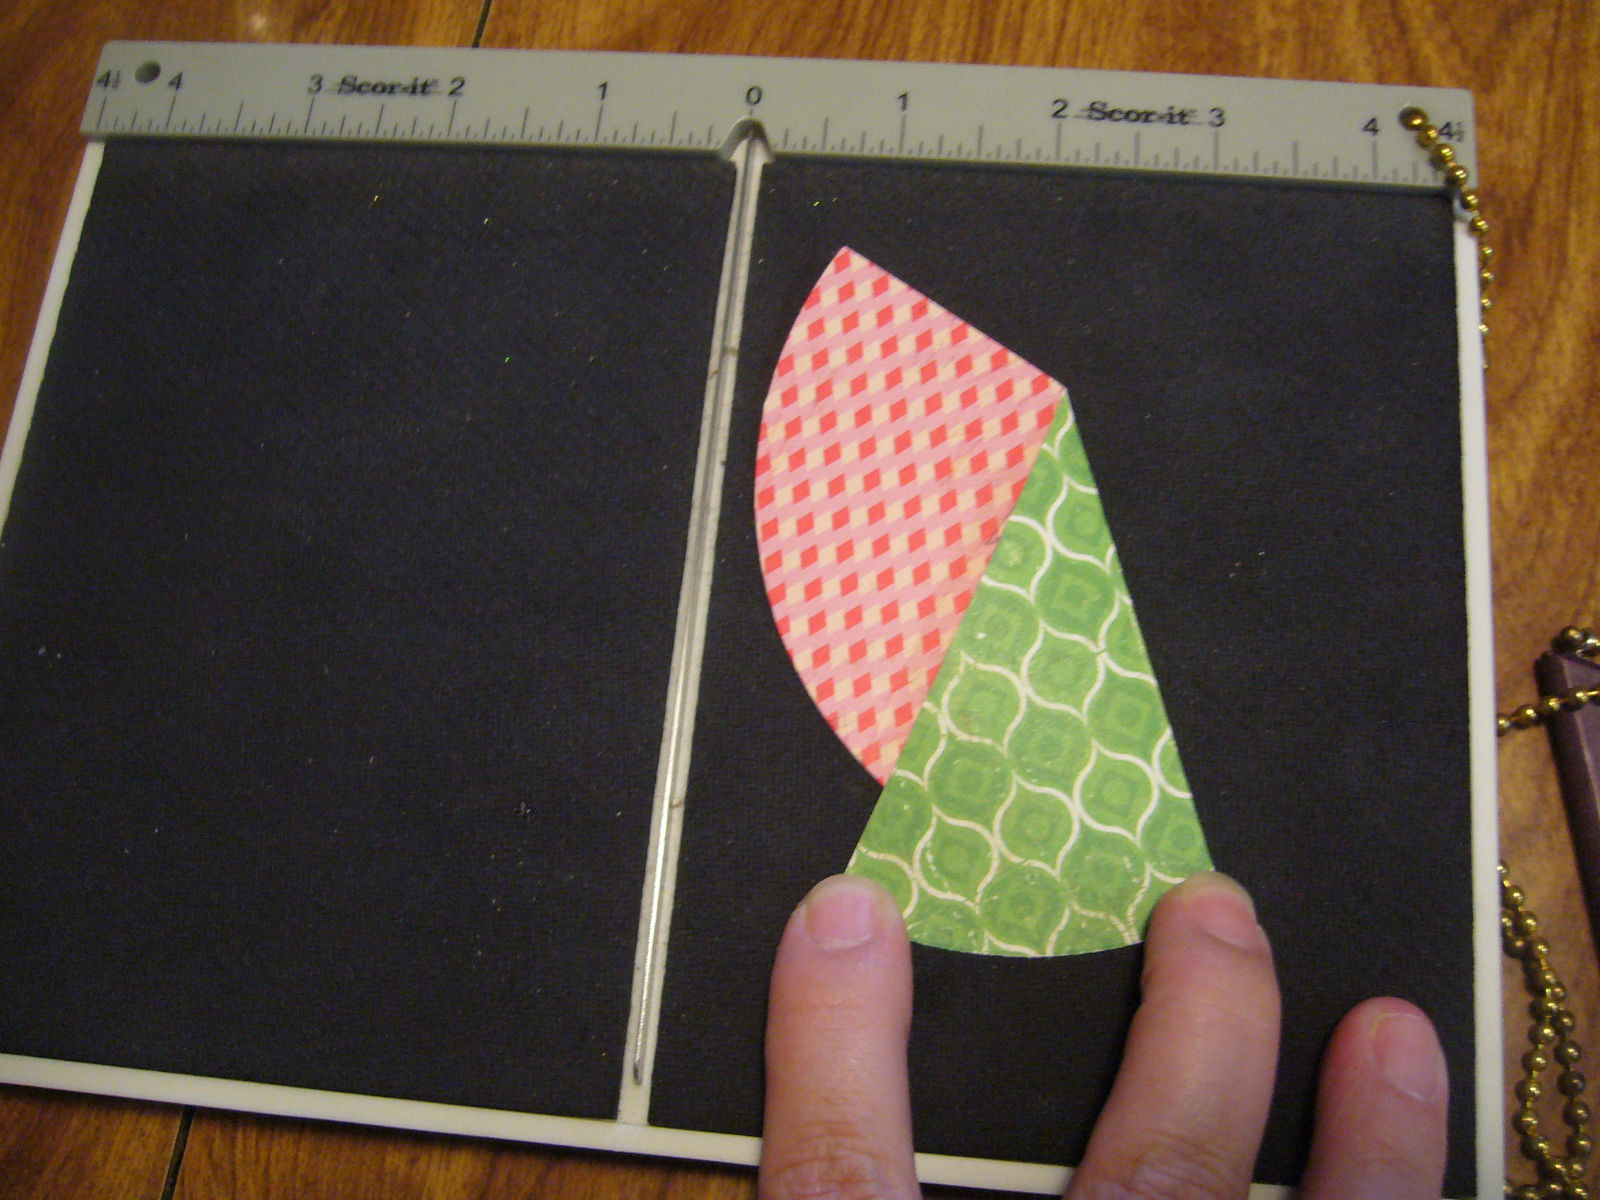
Starting at about 2 inches down on the flat side, score a line through the 1/2 circle to create a base of about 2 to 2 1/2 inches.


Step 3

Fold along the score line. Using the flat side as a guide, line up your paper and create a new score line.


Step 4

Fold the score in the opposite direction as the first score and repeat the process of lining up the flat side as a guide and scoring another line.


Step 5

Fold your score line in the opposite direction and follow the previous step.


Your Christmas Tree should look like the picture below. If you want the color scheme to run the opposite way, then just reverse the folds.


Step 6.


Using adhesive, glue down the folds on the tree. Place the tree on your card and embellish as desired. I used American Crafts Ribbon, a clear rhinestone, and a Merry Christmas stamp.


Happy Crafting


Sandra

Friday, October 14, 2011

Boo Card


It is almost Halloween. Time for costumes, cider, and candy. All those fun fall things: Pumpkins, apples, and scarecrows. I saw this super cute card and had to make it. This is definitely one of my favorites I have made in a while.

Ingredients for this Card

Black Cardstock - 5.5x4.25
White Cardstock -4.25x11
Cardstock - 8.5x5.5 scored at 4.25 for the card base.
Black Stamp Pad
Deckle scissors
Googlie Eyes
Boo stamp or Alphabet letters Stamp
Paper Trimmer
Adhesives

Step One

Using your deckle scissors, cut the white piece of cardstock across at different angles. Cut another notch out of one of the pieces for the googlie eyes. Using your stamp pad, ink around the edges of the white paper. Don't worry if you get any extra ink on the paper.


Step Two

Layer the inked paper strips on top of the black 5.5x4.25 piece of cardstock. Making sure you leave the notch for the googlie eyes.


Step Three

Using a paper trimmer. Trim the edges so your piece is around 4x5.25.


Step Four

Attach googlie eyes and stamp "Boo" under the eyes. If you don't have a Boo stamp, using alphabet letters would work great.


Step Five

Attach this piece to your base card. I thought it looked best on black. Then you can use a white pen to write your message on the card.


Happy Crafting

Sandra

Monday, September 26, 2011

Folded Leaf Card

In lieu of the brand new origami line we brought into all eight of our stores last week, I wanted to share with you a quick and easy way to make a unique card using paper folding techniques. All you need is paper, a little adhesive, and good paper-folding fingers.

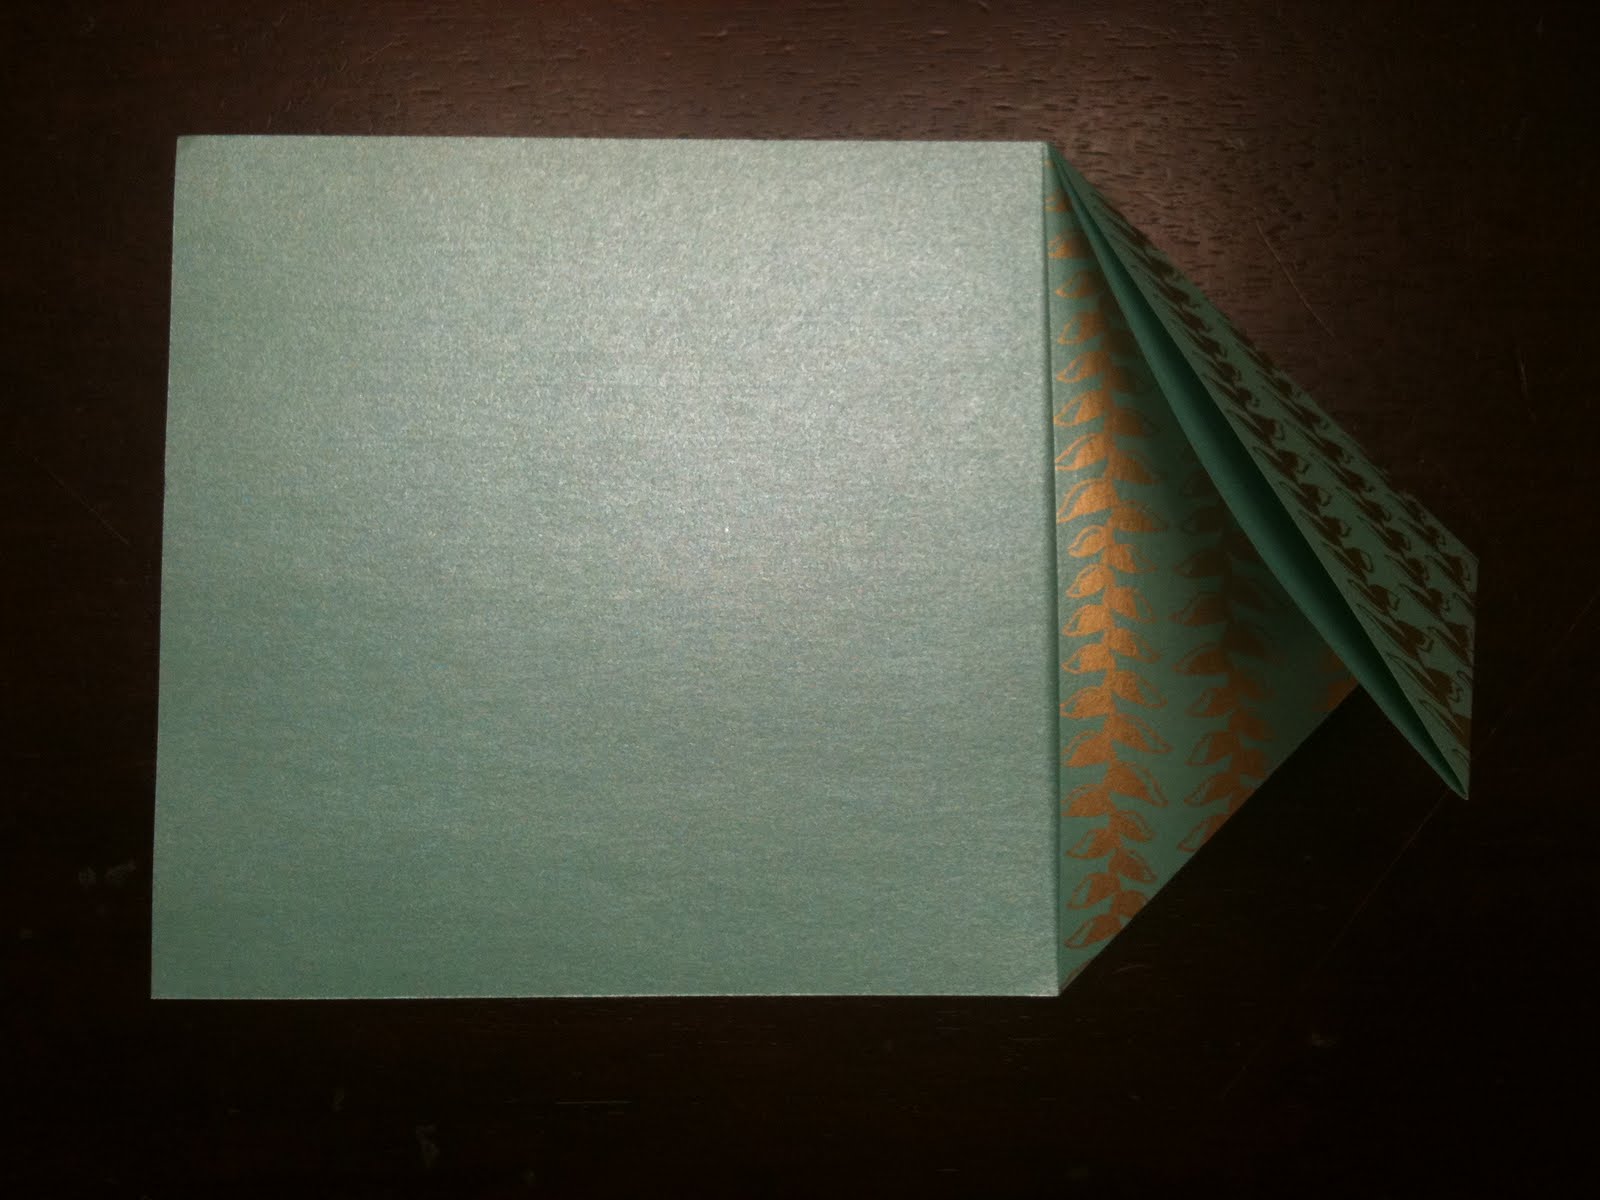
You can use any size rectangle, but I used a 12"X12" piece of thin scrapbook paper and cut it in half to 6"X12". To make the first fold, take the bottom right corner and fold up.

Next, fold the top right corner down.

After that, unfold it. You should see an X shaped crease on the right half of your paper.

Flip the paper over and accordion fold the top right corner down to the center of the X.

Keeping the accordion together, fold the bottom right corner up along the first crease you made.

The leaf should reveal itself as you flatten it out.

Next, using some double sided adhesive, glue down this flap so the leaf stays in place.

After that, fold the leaf flap down. This will create the top third of your card.

Then fold up the rest of your paper to finish the tri-fold card.

Voila! Your card is done. All you need to do is write your message, put in an envelope, and mail!

You can add variety to your collection of leaf cards by using many different kinds of sizes and patterns. I used the new blue line of 7" Chiyogami to create a tiny card as seen above.

Happy Crafting!
-Malyse

Friday, June 17, 2011

Twisted Easel Card

Hi Everyone


Father’s day is upon us, which means that if you haven’t created your Father’s Day cards yet, it is time to get started! Here is a unique card that is quick and simple, and can be made just in the nick of time.

Ingredients for this card:

*1 5x10 piece of cardstock for the base of the card –I used Bazzill Basics 12x12 in Fawn.
*2 4 ¾ x 4 ¾ coordinating pieces of cardstock for the front and bottom of the card. I used Making Memories –12x12 Brun Antique Bees Handwriting
*Scoring Tool
*Adhesive
*Embellishments

Step One

Score the 5 x 10 inch cardstock in half at the 5 inch mark. Score the top panel diagonally from the top corner to the inside lower left corner. Fold in on the scoreline to create two triangles.

The front of the card should look like this.

Step Two:

Decorate your 4 3/4x 43/4 pieces of cardstock to use as the front and base of the card.

The decorations for the base of the card need to include some embellishments to use as a stopper to hold the front of the card in place. For my card, I used 3 small brads as a stopper.

Step Three:

Place adhesive on the lower triangle area as shown.

Step Four:

Rotate the front piece of the card 90 degrees to the left and adhere this piece of the card to the lower triangle. The front piece will be sidewise until folded down to create the front of the card.

Step Five:

Adhere the bottom piece to the base of the card, making sure that your stoppers are in line to hold the front of the card up.

Happy Crafting

Sandra

Monday, June 6, 2011

The Moustache Fad!


If you follow the trends of the crafting industry, you know all about the crazy moustache fad! Everywhere you look you can find moustache designs on paper, rub-ons, stickers, and much more! I decided to jump on this bandwagon and make a few Father's Day cards. (Father's Day is coming up on Sunday, June 19th!)
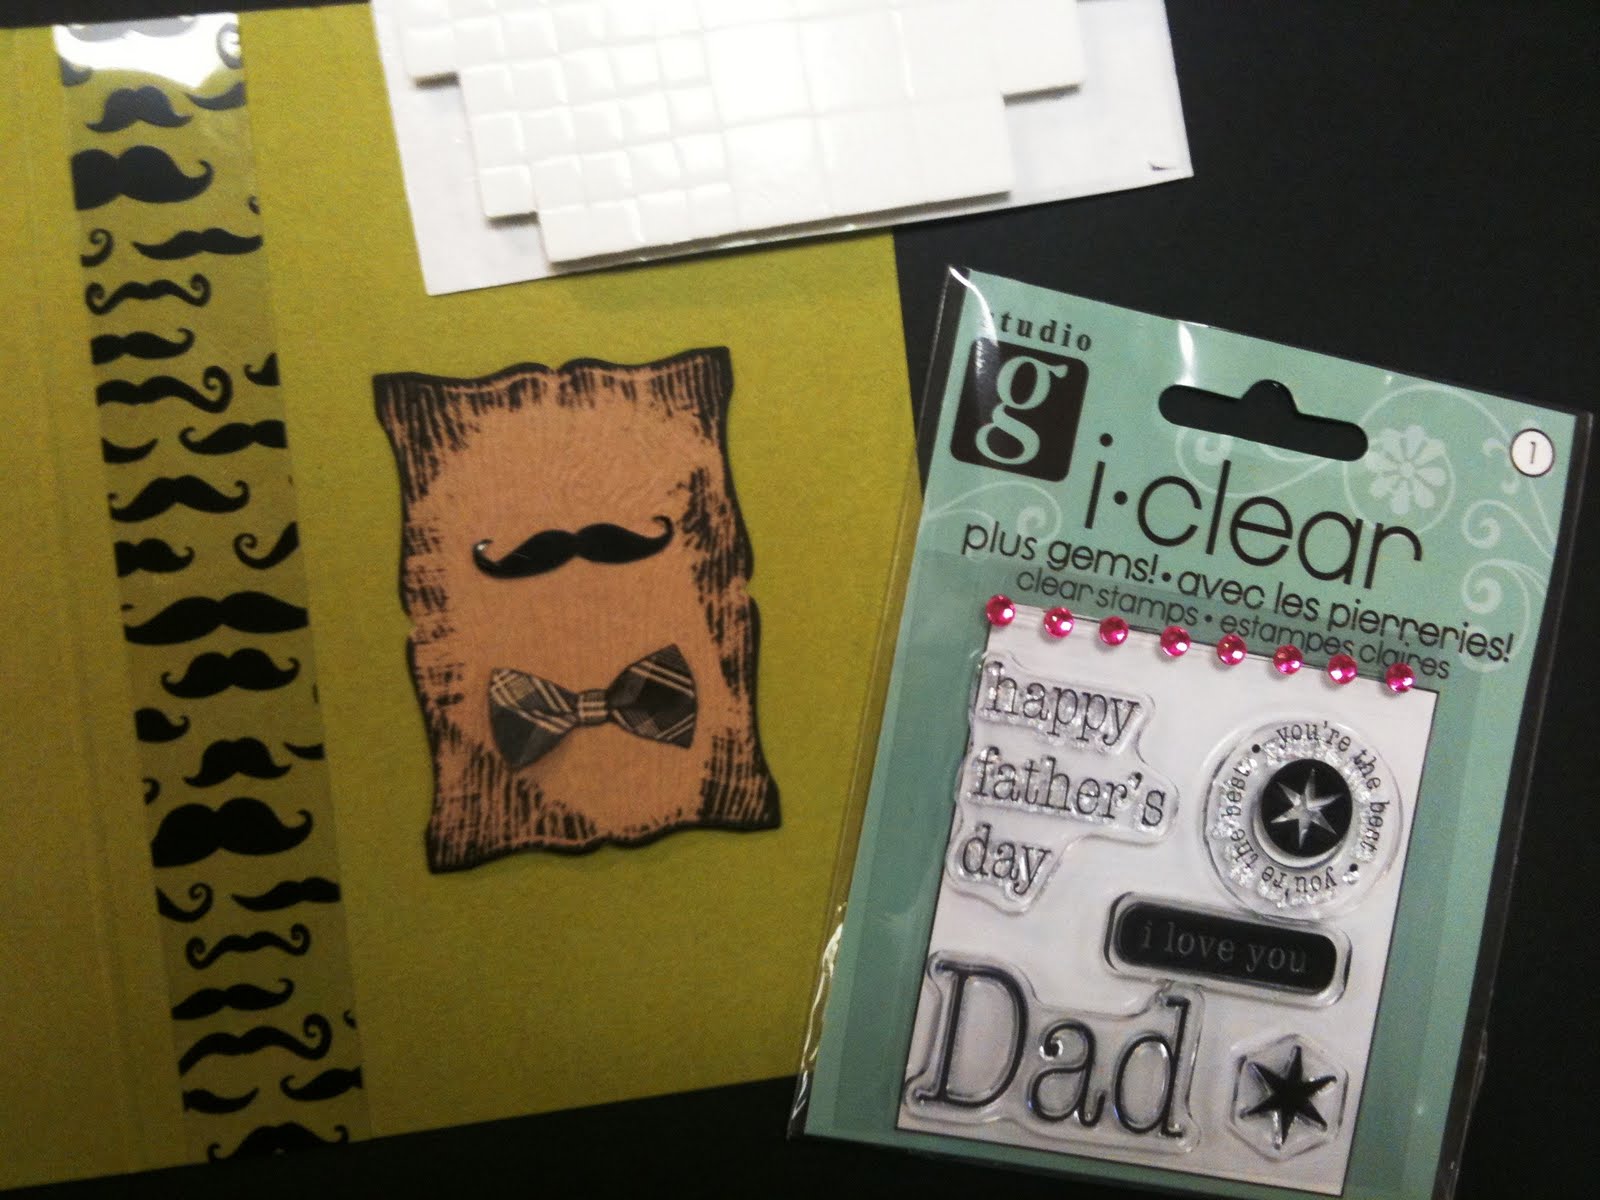


For this project, you will need the following items: One 12X12 black moustache screenprint paper from Hambly and one sheet of black bowtie 12X12 screenprint, two sheets of 8.5X11 cardstock. (I used the Savannah woodgrain paper and Royal Compliments Citron, a $.99 Father's Day stamp, black ink pad, dimensional adhesive, and I used the letterpress machine to die cut the frame shape.


First, cut out the frame using the letter press machine. Make sure the sharp side of the die is pointed up towards the cutting mat as to not mark up the cutting platform.


Next, carefully cut out one bowtie and one moustache from the 12X12 sheets of Hambly paper.


For the base of your card, cut the Citron cardstock sheet in half so it measures 8.5X5.5. Then score it in the middle to make an A-2 sized card (4.25X5.5). Now, using the black ink pad, ink around the edges of your frame using the pad directly onto the paper.


Cut a 1"X5.5" strip of the moustache paper and adhere to the side of the card. I used the ATG gun (not pictured). Mount the cut out moustache onto the frame using the ATG and use the dimensional adhesive on the bowtie so it pops up a bit. Mount the frame using the dimensional adhesive to the card and stamp 'Dad' under the frame using the same black ink pad.


Here are a couple other cards I made using all the same ingredients. These were all really easy and fun to make! These cards were very affordable and you could make several more out of the few items I used. Here are a few other moustache cards made by other PZ staff:


Made by Kelby in Tukwila!


Made by Arica in Seattle!


Happy Crafting! -Malyse