
Hi all! I want to share with you a few quick and easy cards I made using stamps and Copic Markers. If you haven't yet tried using these amazing markers I would highly suggest getting your hands on a few... they come in over 300 colors and blend together better than any other marker.


To start you want to gather a few supplies. I used Copic markers (R39, R46, Y02, Y19, YG13, G24, BG45, BG49, RV02 & RV34) Hero Arts clear stamps, Memento black ink, baker's twine, Classic Crest card stock, foam adhesive and scissors. Next stamp the images using the Memento black ink on to your white card stock.
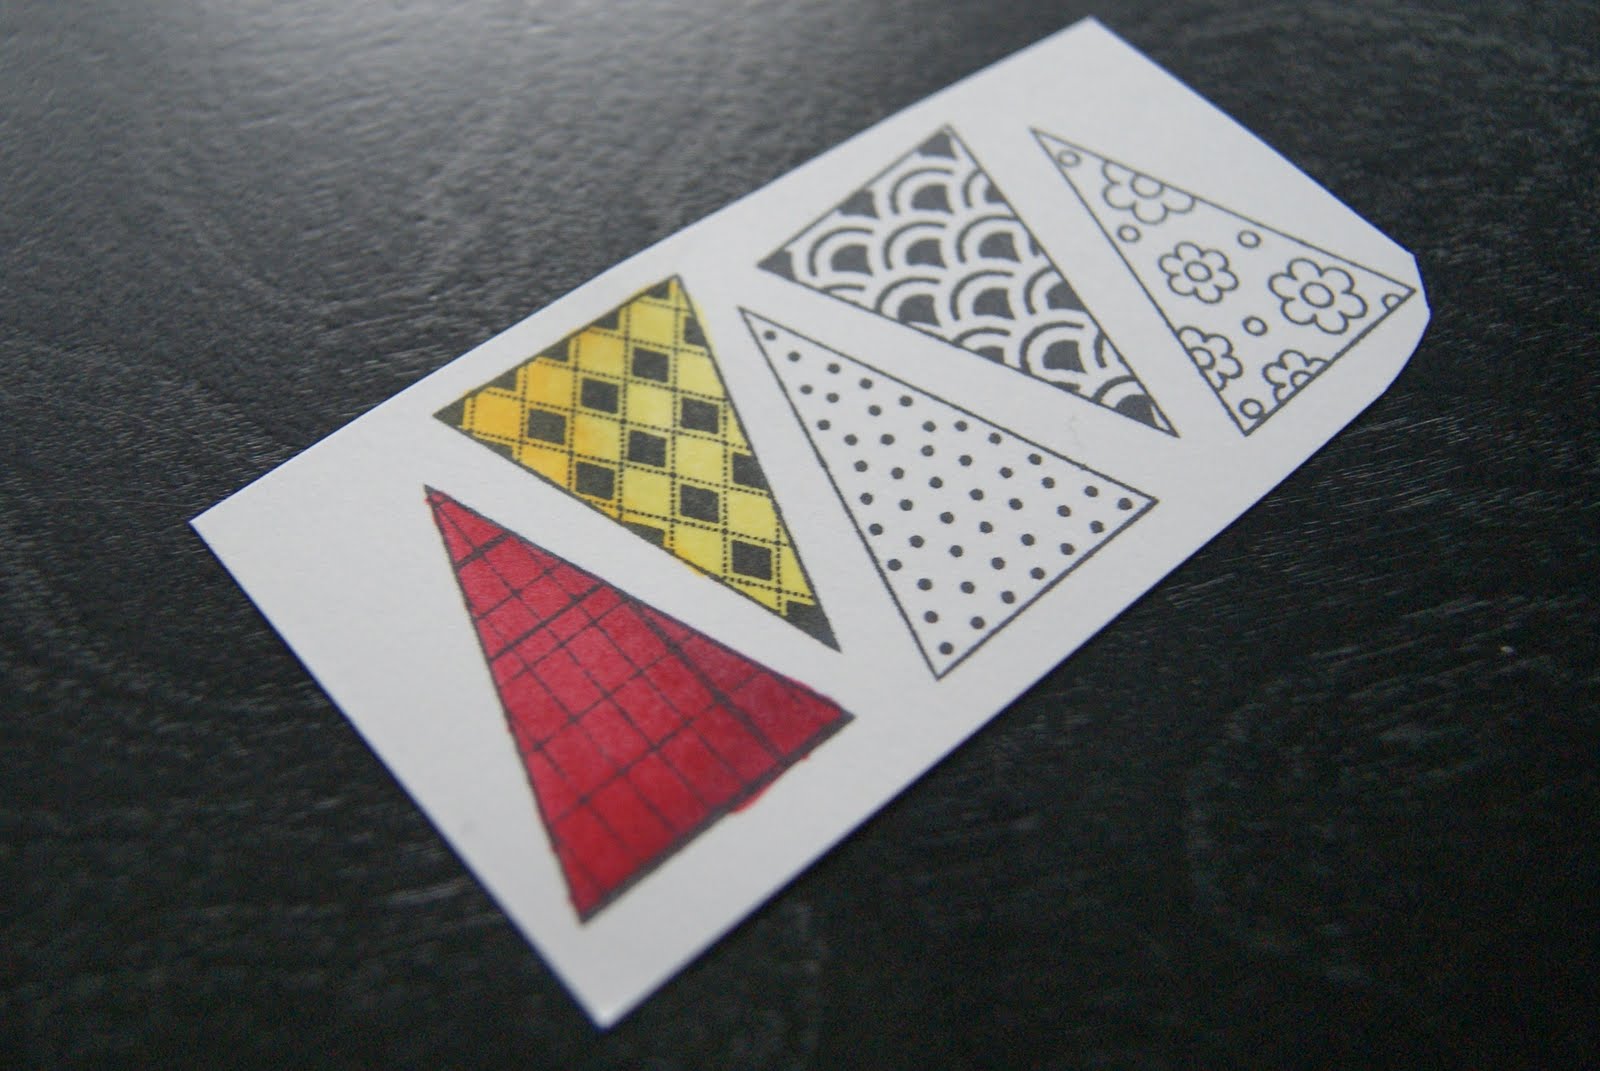
 Now you are ready to start coloring!
To get dimension on my banner I used two Copic markers to color them, one light and one dark shade of the same color (For the yellow piece I used Y02 Canary Yellow and Y19 Napoli Yellow).
First cover the whole banner piece with the light shade Y02.

Next take the darker yellow, Y19, and color in the top left corner.

Then go back with the lighter shade of yellow, Y02, and blended the two shades together.

(The trick to great shading is light, dark, light.)
Next color in the rest of the banner pieces using the light, dark, light technique.
Here it is again in teal blue:
Light over the whole piece.

Dark in the left corner.
Then light again blending the to shades together. After you have colored in all of your pieces cut them out.

Next, using foam adhesive stick them to the card.
Finally glue some baker's twin to the banner pieces to "string" them all together.
Wasn't that fun and easy?
Here is another card I made using Hero Arts clear stamps and Copic Markers. I used the same basic shading technique in this card to color the wooden clock; the light, dark, light technique.

Happy Coloring!
Christina
 Next stamp the images using the Memento black ink on to your white card stock.
 Now you are ready to start coloring!
To get dimension on my banner I used two Copic markers to color them, one light and one dark shade of the same color (For the yellow piece I used Y02 Canary Yellow and Y19 Napoli Yellow).
First cover the whole banner piece with the light shade Y02.

Next take the darker yellow, Y19, and color in the top left corner.

Then go back with the lighter shade of yellow, Y02, and blended the two shades together.
(The trick to great shading is light, dark, light.)
Next color in the rest of the banner pieces using the light, dark, light technique.
Here it is again in teal blue:
Light over the whole piece.

Dark in the left corner.

Then light again blending the to shades together.
 After you have colored in all of your pieces cut them out.
Next, using foam adhesive stick them to the card.

Finally glue some baker's twin to the banner pieces to "string" them all together.

Wasn't that fun and easy?
Here is another card I made using Hero Arts clear stamps and Copic Markers. I used the same basic shading technique in this card to color the wooden clock; the light, dark, light technique.

Happy Coloring!
Christina
No comments:
Post a Comment