

Hi all! Today I want to share with you a popular technique using Glimmer Mist. In case you are not familiar, Glimmer Mist is a shimmery spray ink that comes in tons of bold colors.
The technique I want to share with you is called masking. Basically, masking is when you lay something down on top of your paper/project and spray ink over the top. Then you take that thing that you laid down off, to reveal a negative image.
Here is what it looks like step-by-step:
Step 1: Make or find shape for masking. I wanted to create a sky, so I simply cut out clouds from card stock.

Step 2: Lay down shape over project and spray ink over the top.
Step 3: Take off shape to reveal negative image. (For this card, I then stamped a hot air balloon with black ink over the top.)
Here is another card I made using the same technique:

For this card I punched out butterflies with a Martha Stewart punch and laid them out over a pink piece of paper.
Then, sprayed with Black Cherry Glimmer Mist.
And then the exciting part: take shapes off to reveal negative image.
I then stamped a saying on the paper with black ink.
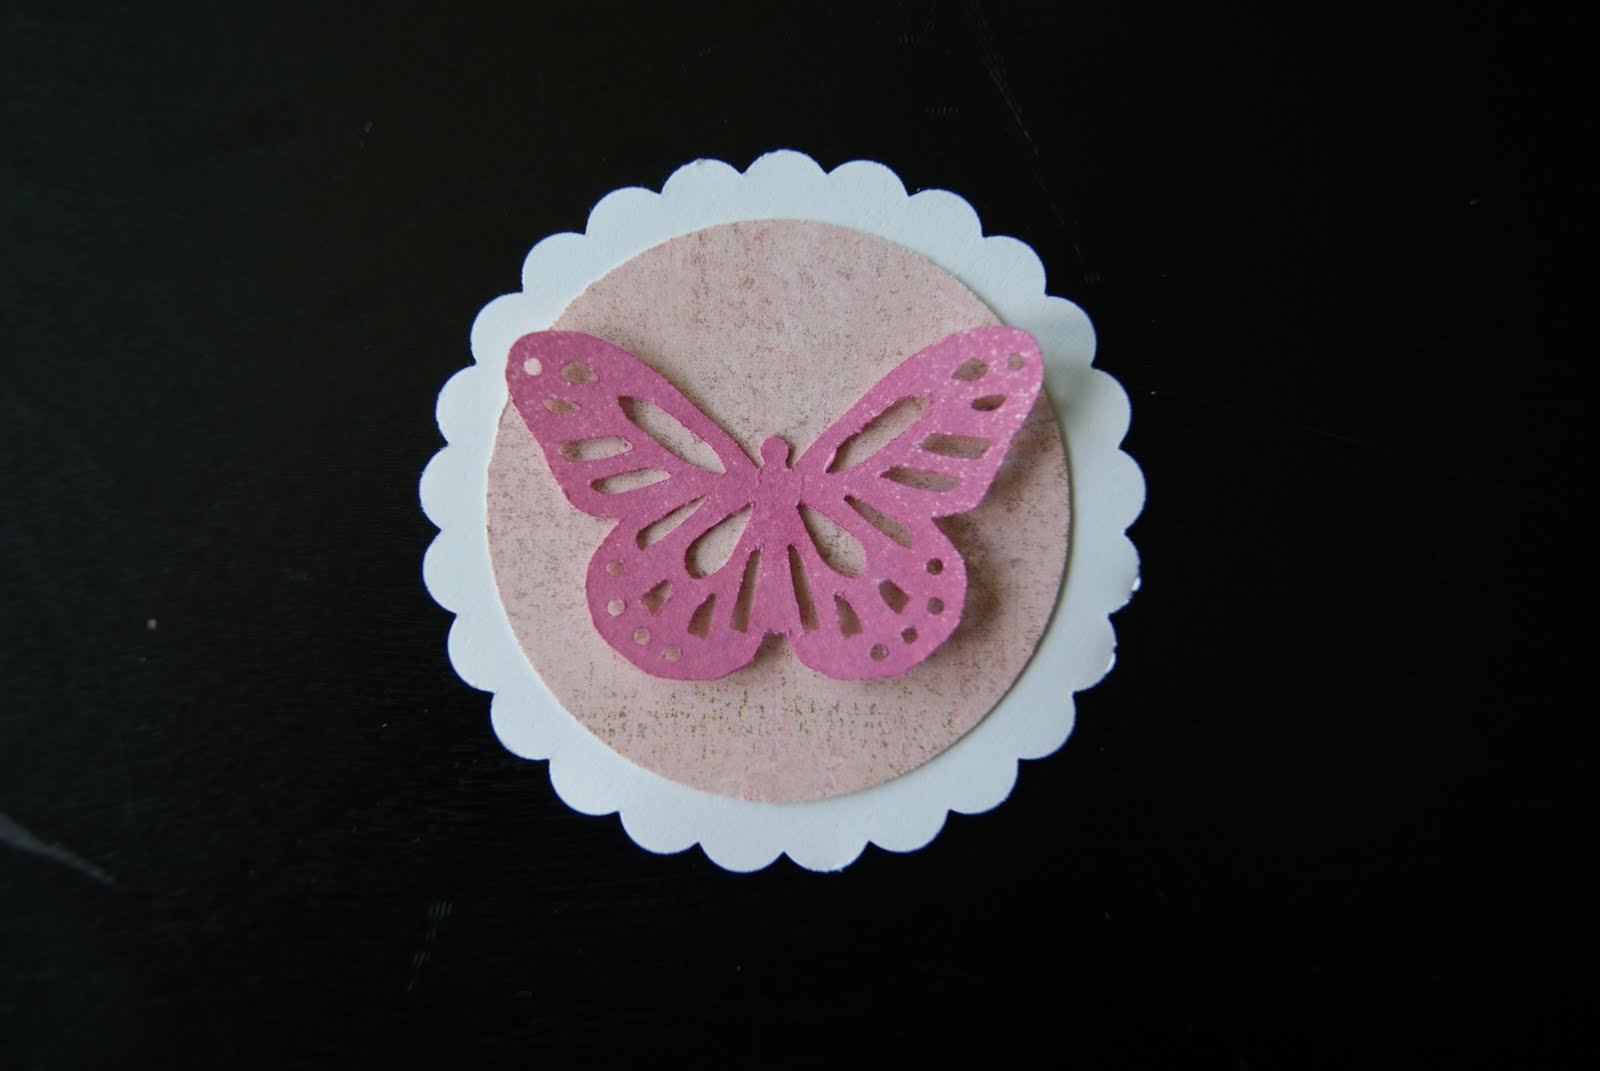
Next, I punched 2 circles, one white scalloped and one pink. I also used took one of the butterflies I used as a mask to use as an embellishment.
Layer all the shapes together and glue. Then mount on card.
(One things that you can't really see in the photos is the shimmer that is in the ink.)
 Glimmer Mist is so much fun to use! And will all the colors that are available at Paper Zone, the possibilities are endless!
Happy Crafting!
Christina

Step 3: Take off shape to reveal negative image. (For this card, I then stamped a hot air balloon with black ink over the top.)

Here is another card I made using the same technique:

For this card I punched out butterflies with a Martha Stewart punch and laid them out over a pink piece of paper.

Then, sprayed with Black Cherry Glimmer Mist.

And then the exciting part: take shapes off to reveal negative image.

I then stamped a saying on the paper with black ink.

Next, I punched 2 circles, one white scalloped and one pink. I also used took one of the butterflies I used as a mask to use as an embellishment.

Layer all the shapes together and glue. Then mount on card.
(One things that you can't really see in the photos is the shimmer that is in the ink.)
 Glimmer Mist is so much fun to use! And will all the colors that are available at Paper Zone, the possibilities are endless!
Happy Crafting!
Christina
Really great idea, love this. Must try it this weekend!
ReplyDelete