

Hi everyone! I will be in our Seattle Store this Saturday from 2-4 giving a free demo on Fimo clay! In light of this I wanted to share some of my recent Fimo projects with you!
The first project is this yummy clay doughnut!
1. Mix clay together to make the perfect color for the cake part of the doughnut. (I used equal parts brown and white with a little bit of yellow.)

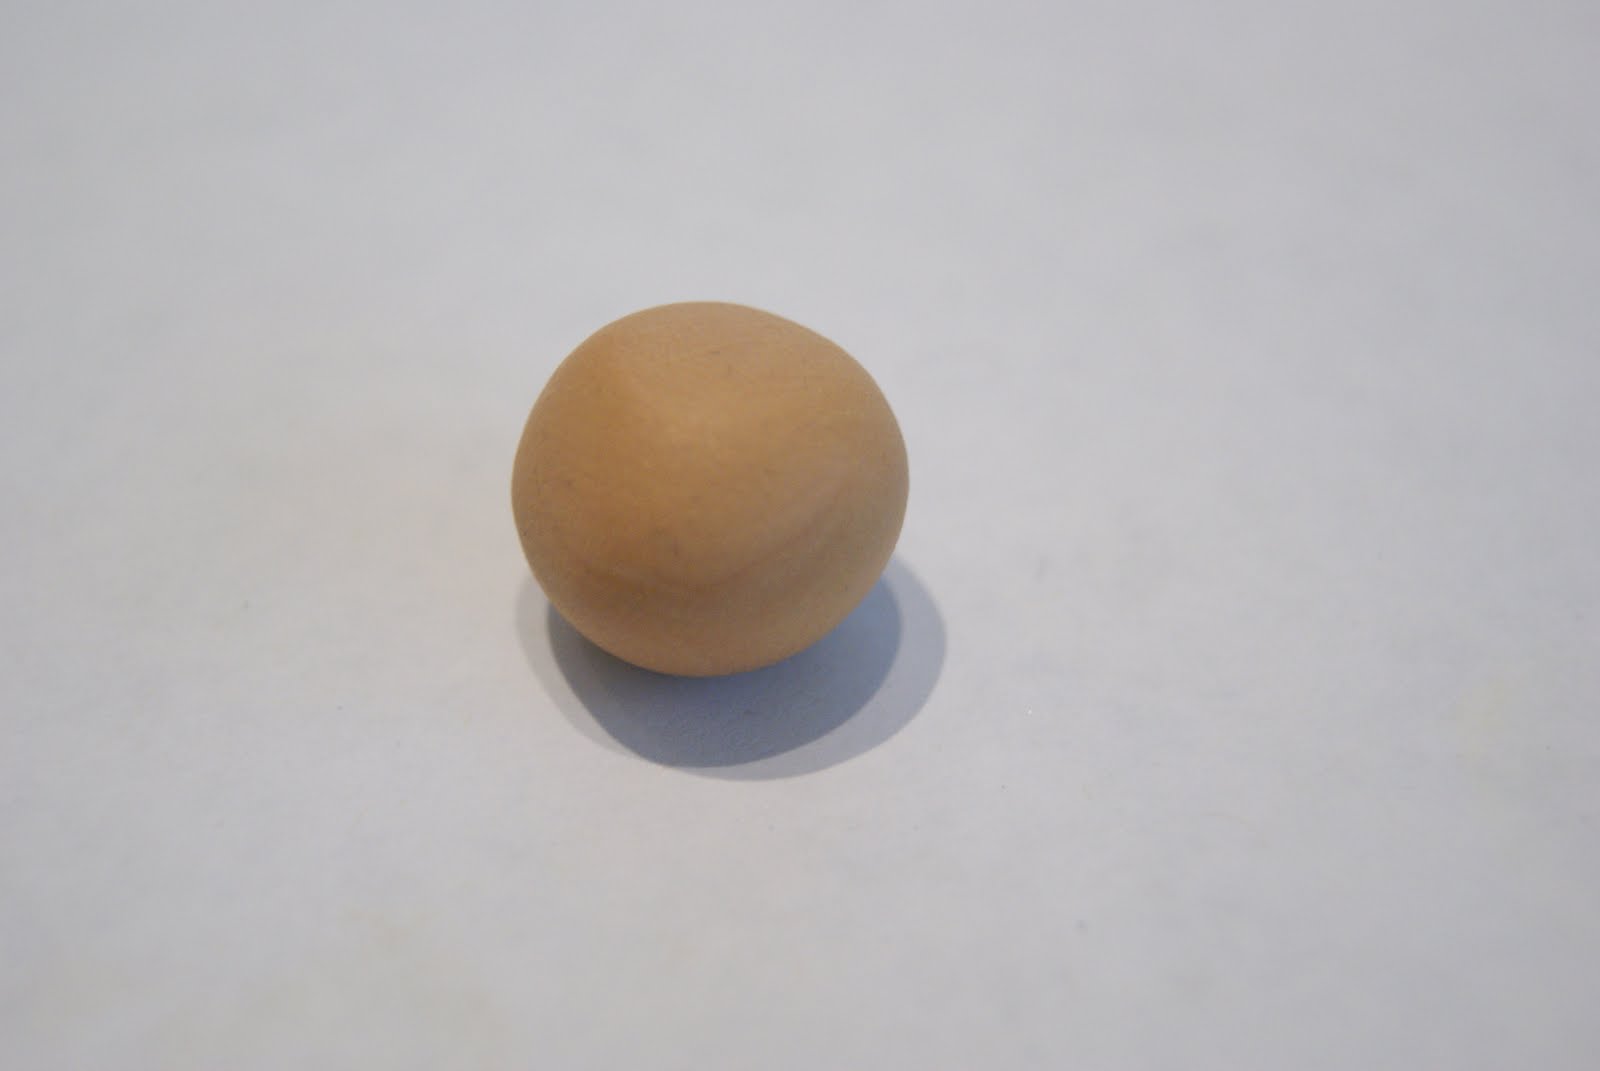
2. Roll clay into ball.
3. Use a toothpick or other round tool to create the hole in the center of the doughnut.
 4. Take a small piece of brown clay and roll into ball, then flatten.
 5. Repeat step 3 to create hole in the brown clay, for the frosting.
 6. Press the brown frosting on top of the doughnut.
7. Roll out a thin line of colored clay of your choice for the decorative frosting.
 8. Apply the decorative frosting to the top of your doughnut and bake for 30 minutes at 230*. (I added some glitter to the other doughnut I made that is pictured at the top of the page, if you would like glitter on your clay project apply glitter before baking.)
Next up is how to create a clay embellishment for a card or other paper crafting project.

1. Roll Fimo into small ball and flatten slightly.
 2. Impress stamp into clay (I like to apply a clear shimmery ink, VersaMark Dazzle, to my stamp before I impress it into clay, it makes it a little easier to release and also leaves the clay shimmery!)
3. Follow baking instructions on package (30 minutes at 230*)

4. You are ready to use you clay piece to embellish a card or other project!

I would love to see you this Saturday in our Seattle store for the free demo. I'll be sharing more Fimo projects and tips!
Happy Crafting,
Christina
No comments:
Post a Comment