

The art of paper marbling dates back centuries in all parts of the world. You have probably seen many of these beautiful papers at fine stationery stores or used as covers on hardbound books. I have always been fascinated by these and it wasn't until recently that I discovered it is really a very simple process. Basically all it entails is floating color (ink or paint) on water, then transferring it to an absorbent paper surface.
I tried my hand at this ancient technique using a Japanese Suminagashi Marbling Kit and regular copy paper.

First you need a dish filled with water (about 1-2" deep) that is large enough that you will be able to lay your sheet flat on the surface of the paper. This kit includes "float papers" (pictured above) which are basically just 1/2" circles of paper that have are slightly heavy in weight (maybe close to an 80# text). Completely submerge these float papers into your water and let them float back up to the surface.

You will then drop one drop of your paint onto the center of the float paper. The paint should immediately spread across the surface of the water. Make sure not to touch your ink directly to the surface of the water but rather let it drop onto the water over the float paper. This prevents the ink from sinking to the bottom of your tray.

Add additional drops of ink in your choice of alternating colors until you feel you have enough ink floating on the surface of your water.


At this point, you can manipulate the ink and create the marbled effect. I did this by slowly running the sharp end of a stick through the ink to create a random effect. you can also try gently blowing on the surface of the water to move the ink around. Really the possibilities are endless, but it is important not to stir up the ink too much as you can muddy the colors and lessen the distinctive marbled effect.

Once you are satisfied with your pattern, just lay your paper on the surface of the water. You do not need to leave it there very long, maybe just a couple of seconds.

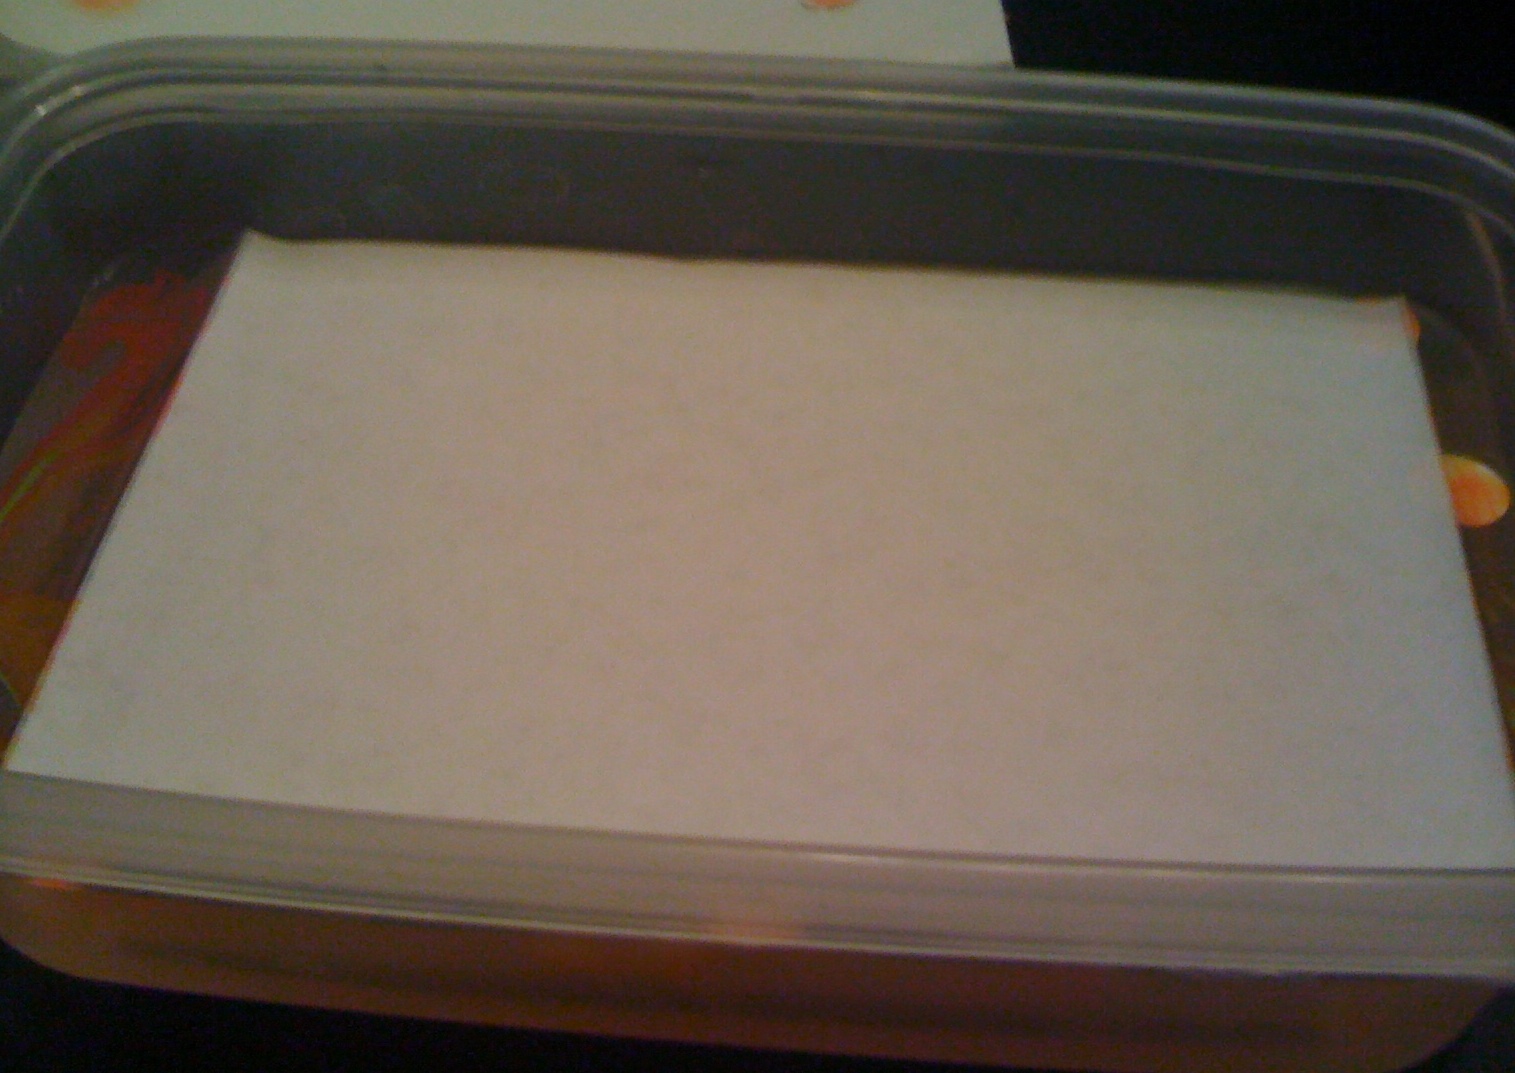
Carefully remove it from the water and place it ink side up on some paper towels or newspapers to let it thoroughly dry.

Even I, a true beginner in the art of paper marbling, was able to create these really fun and totally distinctive patterns in just a few minutes. Here is another color scheme I tried that I thought turned out really nice:

This technique is a lot of fun and though I am only just getting the hang of it, I think I was able to get some really interesting results. I can't wait to try some more advanced designs! -Amanda

This technique is a lot of fun and though I am only just getting the hang of it, I think I was able to get some really interesting results. I can't wait to try some more advanced designs! -Amanda

And on another note...
Congratulations to Ally from Salem PZ for winning our Oh Baby! Crafter's Challenge!
Ally created a little onesie invite featured last week on our blog. It's so cute and a really creative way to use all of our secret ingredients. Nice Job Ally!
We are still accepting submissions from our customers through May 27th, so if you have a great idea for a fun baby project, check out the details and get your entries in soon! We always love to see all of your great creations!
This is such awesome stuff.. I think I'd try it at home.. Do you think it would work well with artist water colours????
ReplyDeleteProbably the best and easiest paint to use would be an acrylic paint. Just dilute it down with water first to get it to a consistency that will allow you to easily drop it on the surface of the water above the float paper. You could also try using watercolors, but I am guessing that you may not get as vibrant or concentrated colors as you would with the acrylic based paints. Let us know how it works out!
ReplyDeleteThese are great, really interesting and look like a lot of fun to make!
ReplyDeleteThis was lovelyy to read
ReplyDelete