
My obsession with the Letterpress Machine continues, but this time with a new twist. We just got in a new array of nesting dies that are great for cutting out basic shapes in the perfect size for your project. One of my favorites it these set of scalloped circles that range from about 3/4" all the way up to almost 6" in diameter.
 There are many more shapes including circles, squares, rounded corner square, embellished frames and more. In addition to these great nesting dies we also now have some different interesting media we can use for cutting out our shapes like cork, plastic, and even magnet stock. I decided to try the new magnet stock to make a quick little project for the fridge.
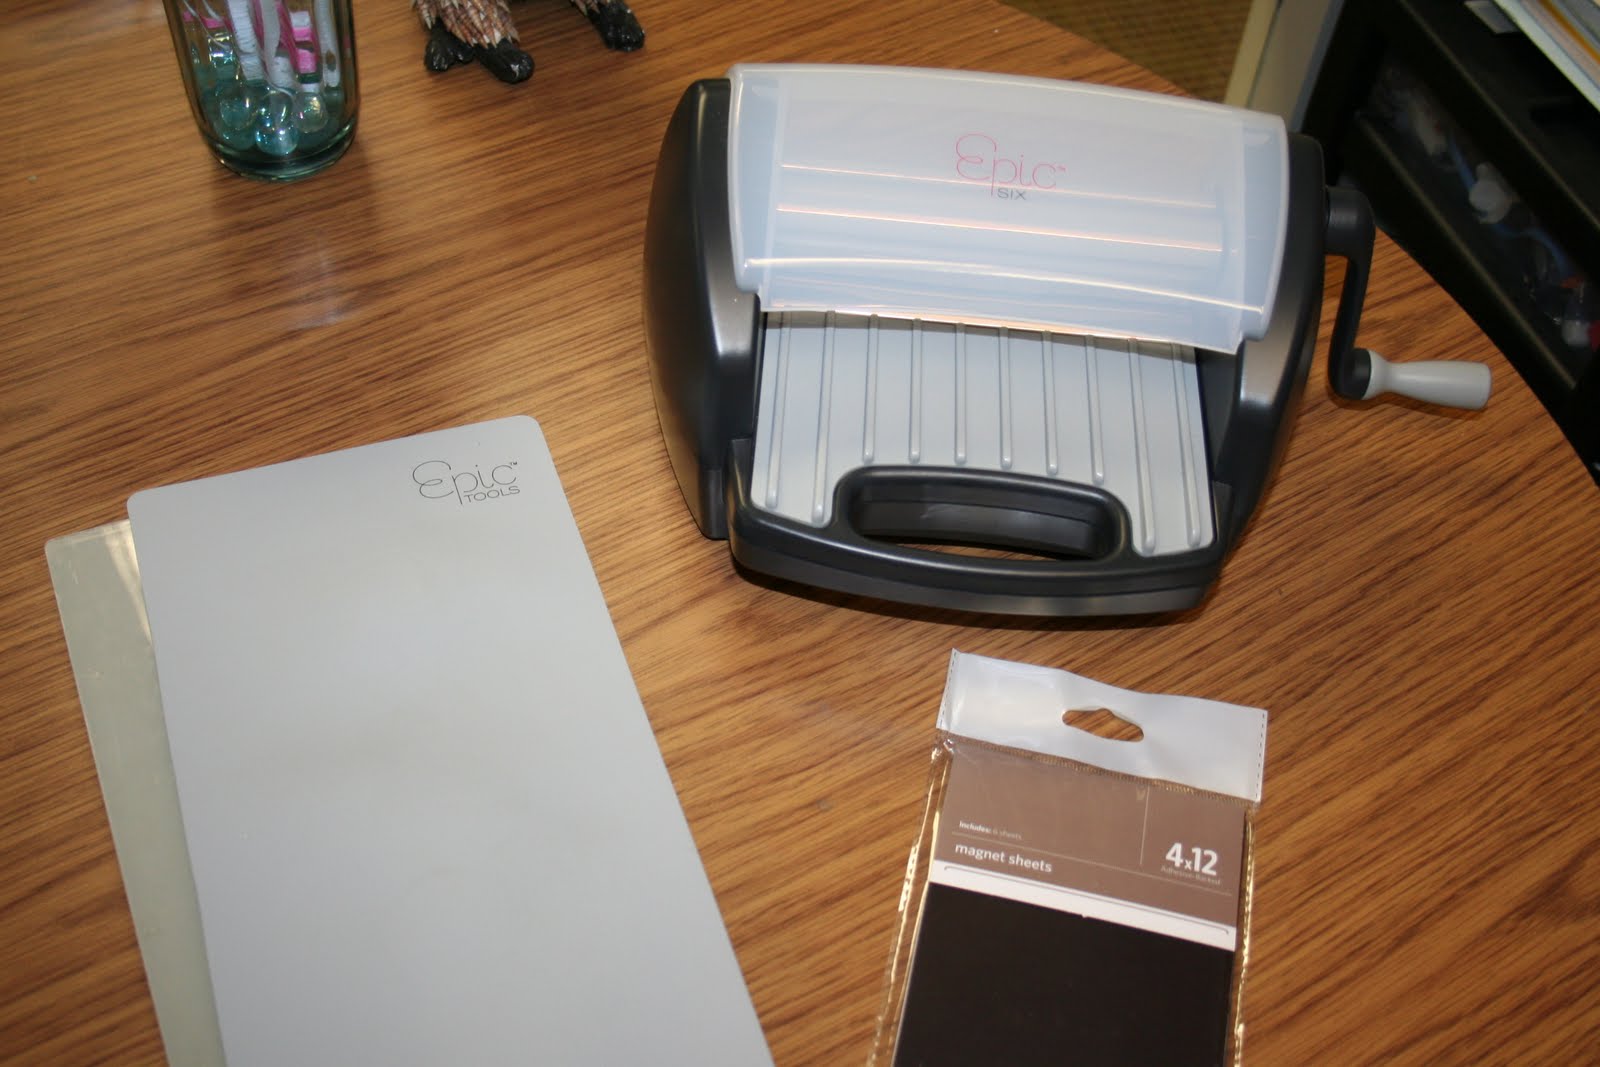 First, I found a couple of cute pictures of my kids and determined the size I wanted my final project to be.
 To cut out their pictures, since it is a pretty precise cut and I didn't want to accidentally lose an ear or something, I placed my die (cutting edge up) on my cutting platform. I took a couple of really thin strips of double-sided adhesive (extra sheets of this adhesive come with the combo kit) and placed them on the back of the die to adhere them to the platform. It doesn't need to be really stuck to the platform, just enough so it doesn't shift as you roll it through the machine.
 Then I placed my photo over the dies and felt for the edges so I could make sure the face was centered. I used some paper placement guides on the edges of the photo so it also wouldn't shift.
 Then I just placed the cutting mat on top of the platform and ran it through the machine. Next I cut out my magnet which is a little bigger with a scalloped edge. I place it magnet side down so there will be a cleaner edge on the magnet side. Then just run it through the machine again.
 I cut the same sized scalloped circle out of my paper I chose for the border. I also cut a smaller circle out of the inside of the scalloped paper piece.
 Then I just peeled back the adhesive on the magnet sheet and lined up my paper with the magnet and stuck it in place.
 Cutting the open circle in the middle of the scalloped paper allowed me to leave part of the adhesive on the magnet exposed so I could then just stick down my photo.
 Now I have two great little decorations!
 This magnet stock is great, not only for little projects like this, but it would be perfect to make your Save the Date card or Baby Announcement to then mail out to your friends and family. I know I always end up putting those types of things on my fridge anyway, why not have the magnet included? Plus, it's nice and thin so it will go through the mail beautifully!
Reminder:
Monday the 11th is the 1 year anniversary of the PZ Blog. Become a follower and you will be entered to win a $20 gift card! Good Luck and Happy Crafting!
Cute idea! Thanks!
ReplyDeleteWho cares about the magnet, I want the cute pup! ;0)
ReplyDeleteI just got my letterpress from the Salem store and I love it! Glad to see other projects to do with it besides just pressing.
ReplyDelete